
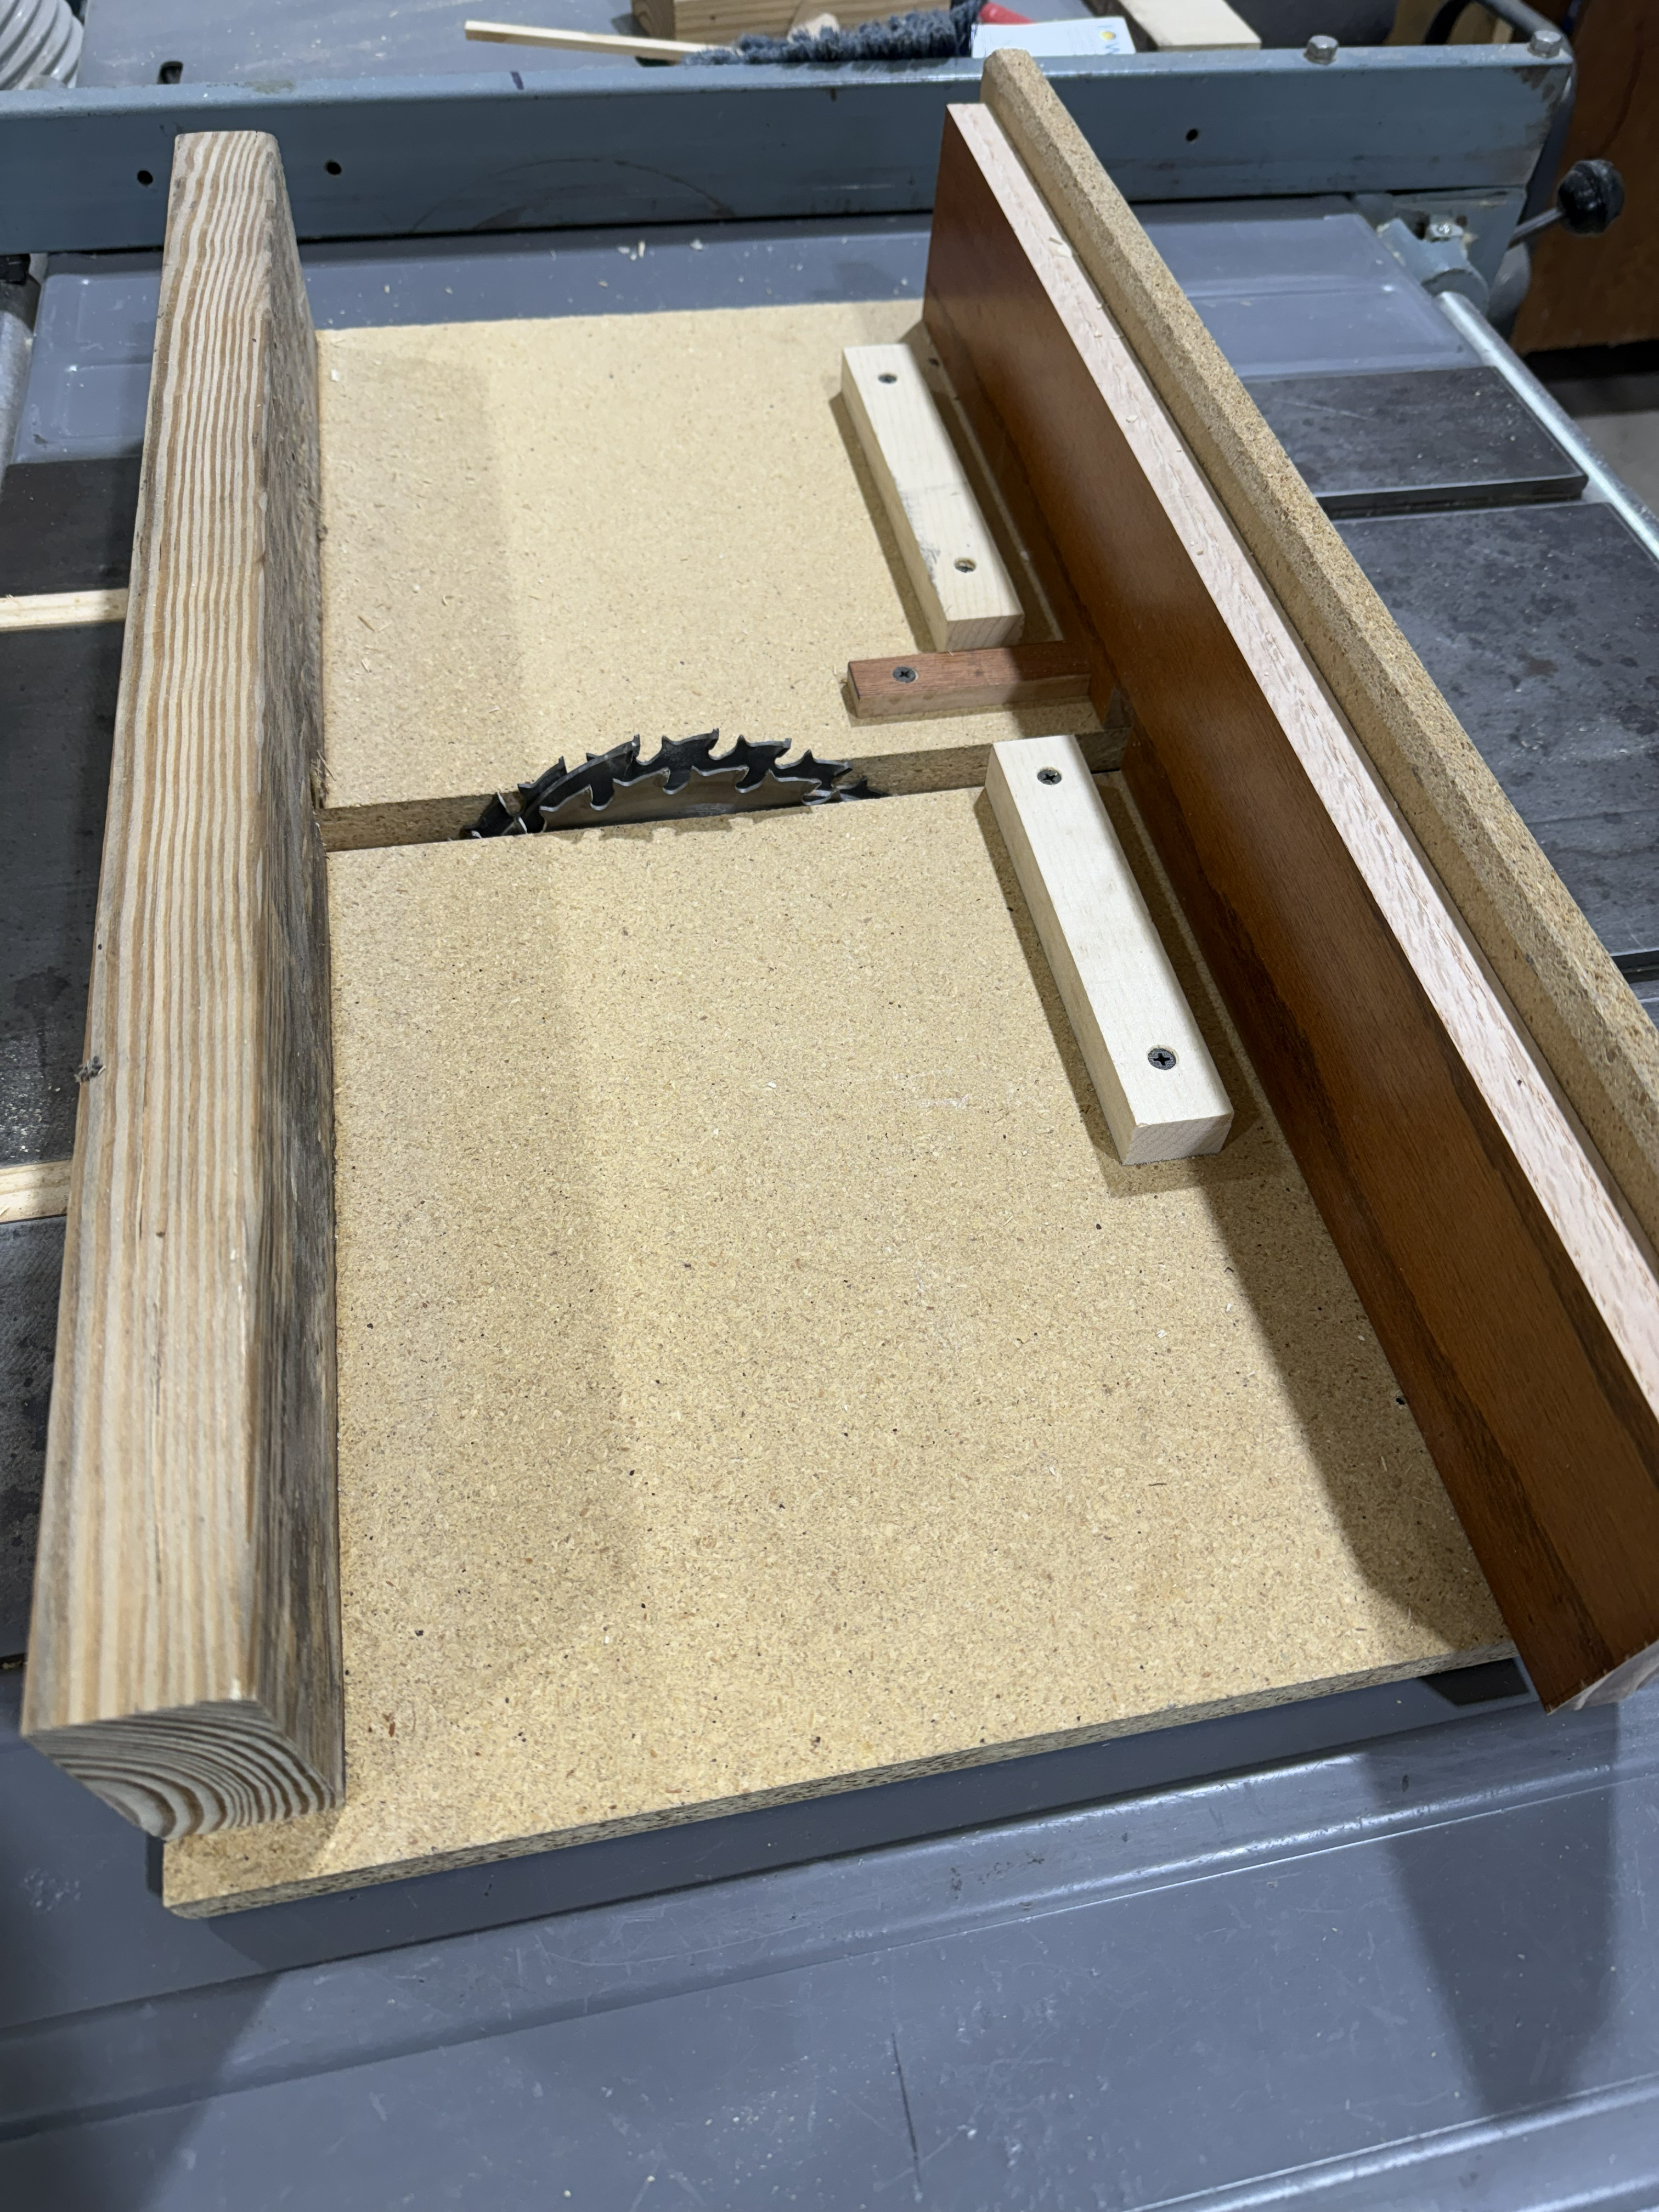
Above: Handhold jig with insert to adjust for sides and ends (all get a handhold).
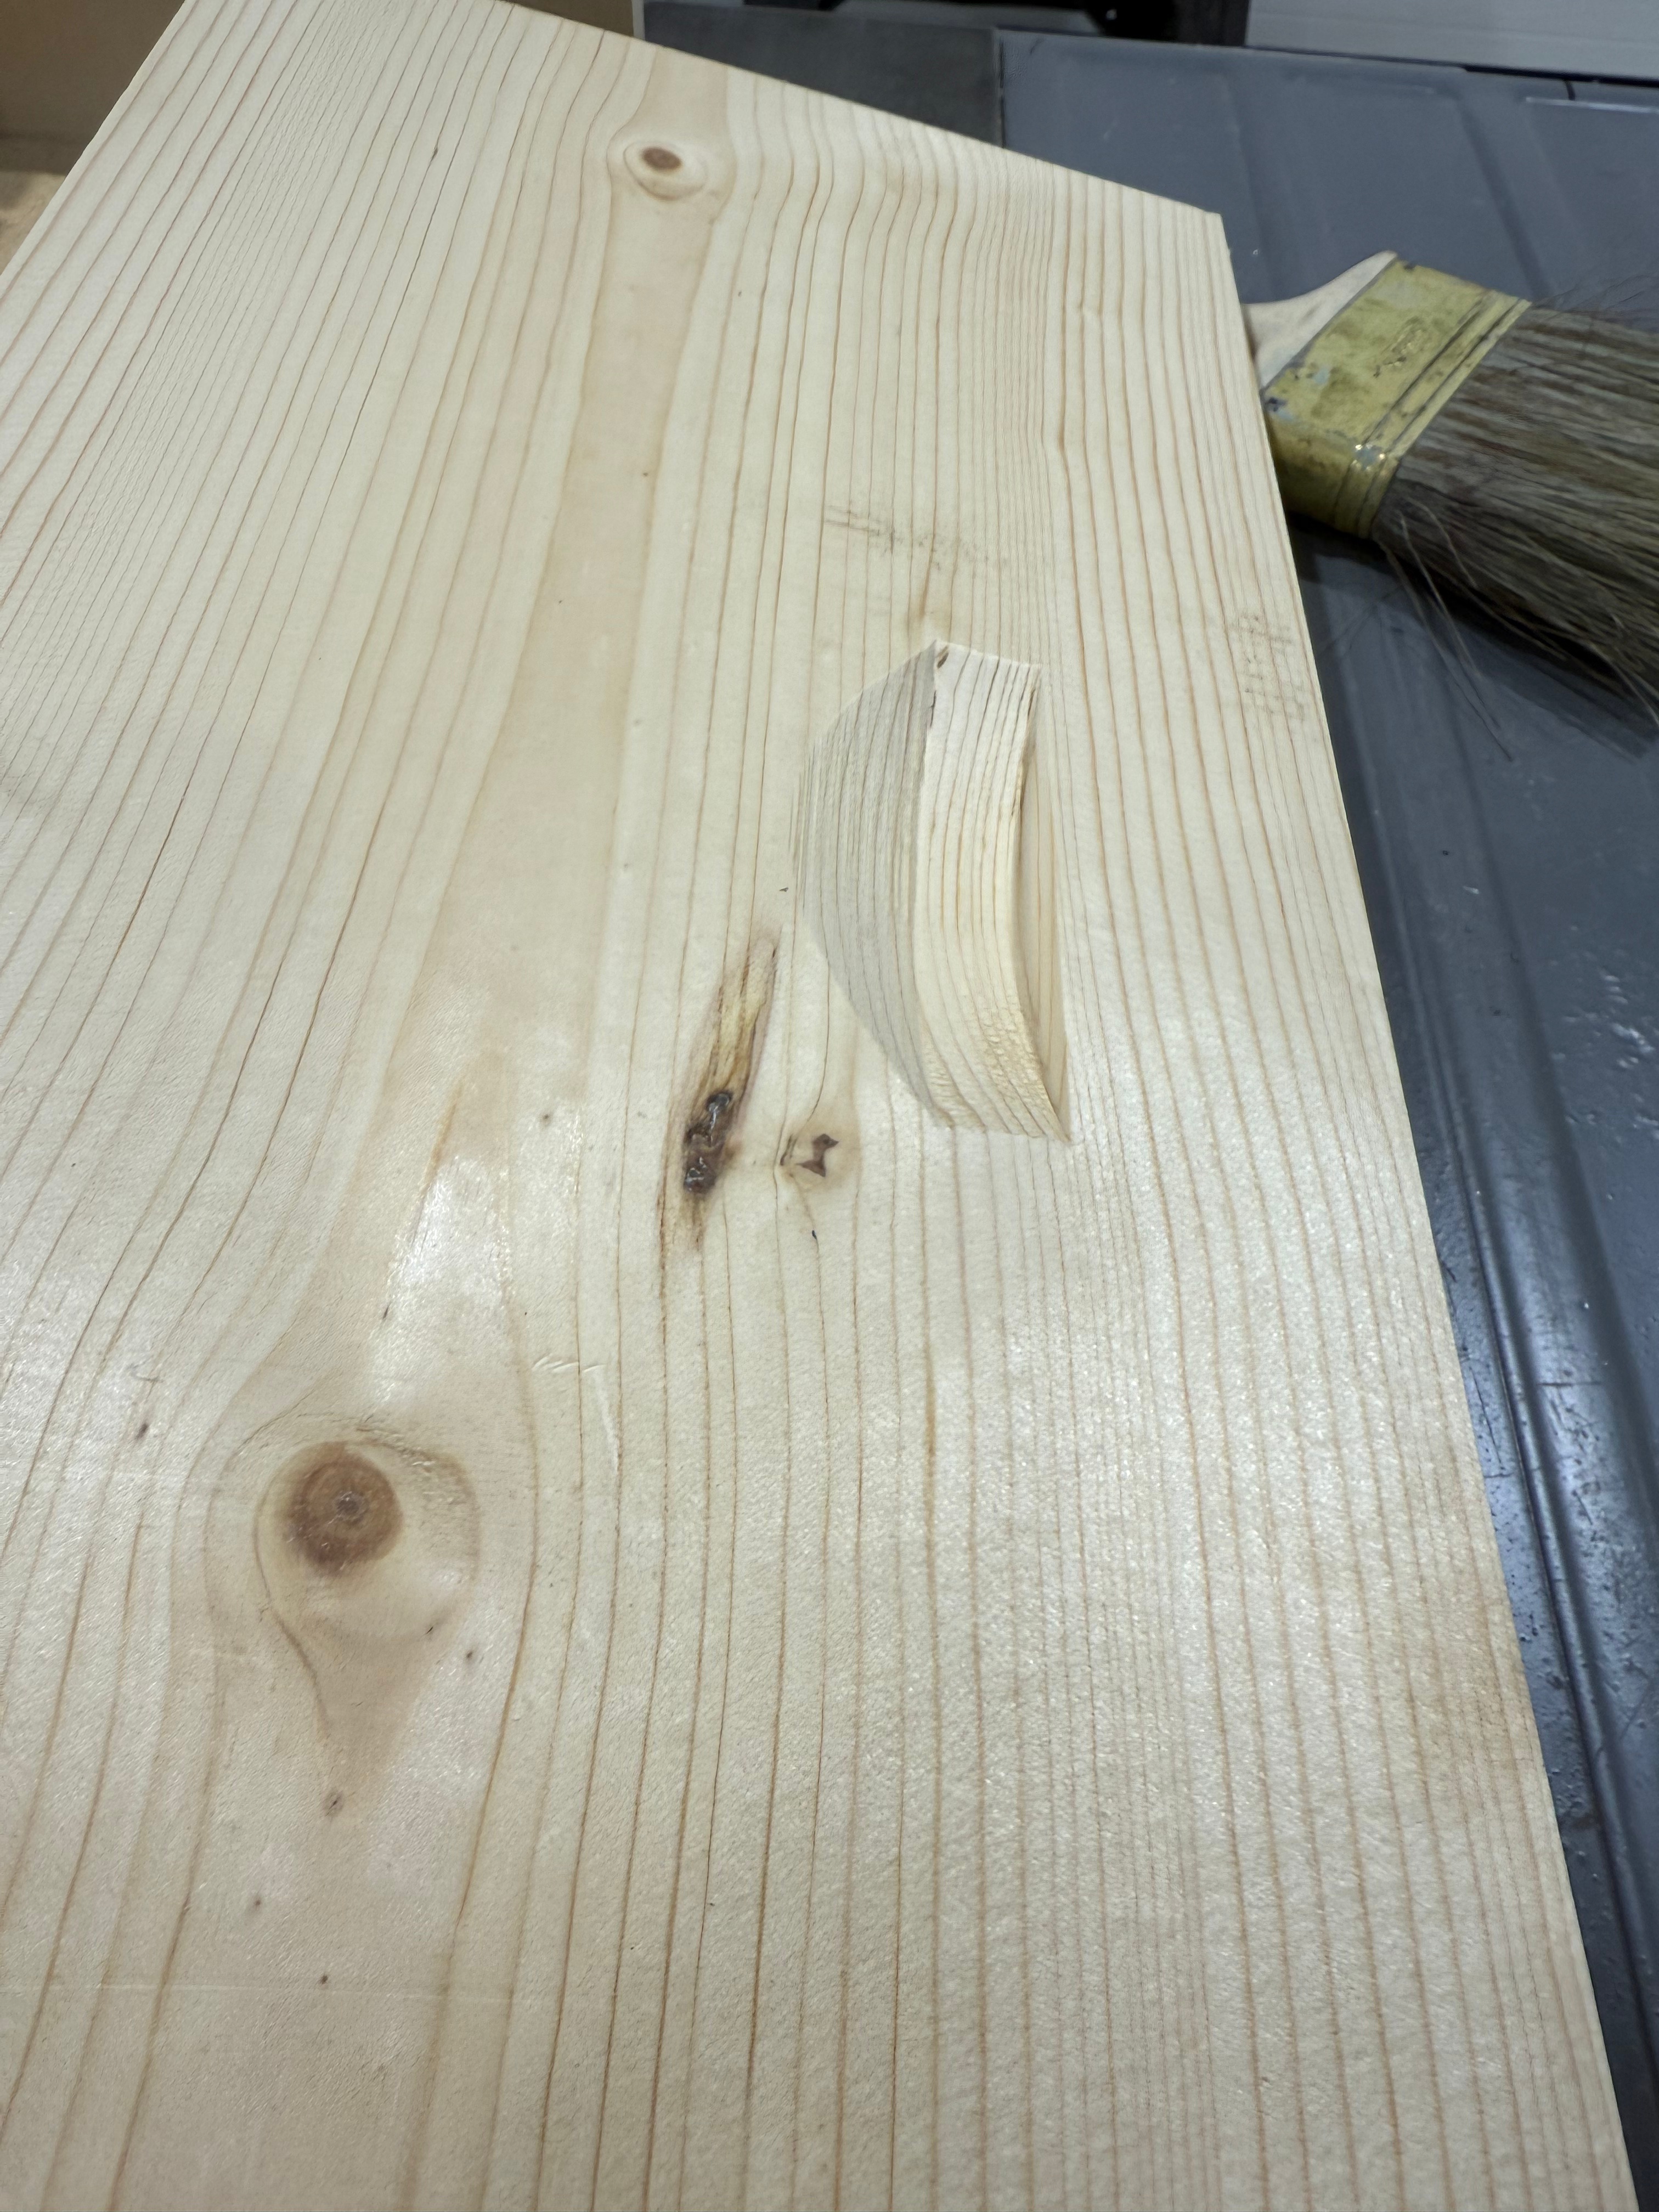
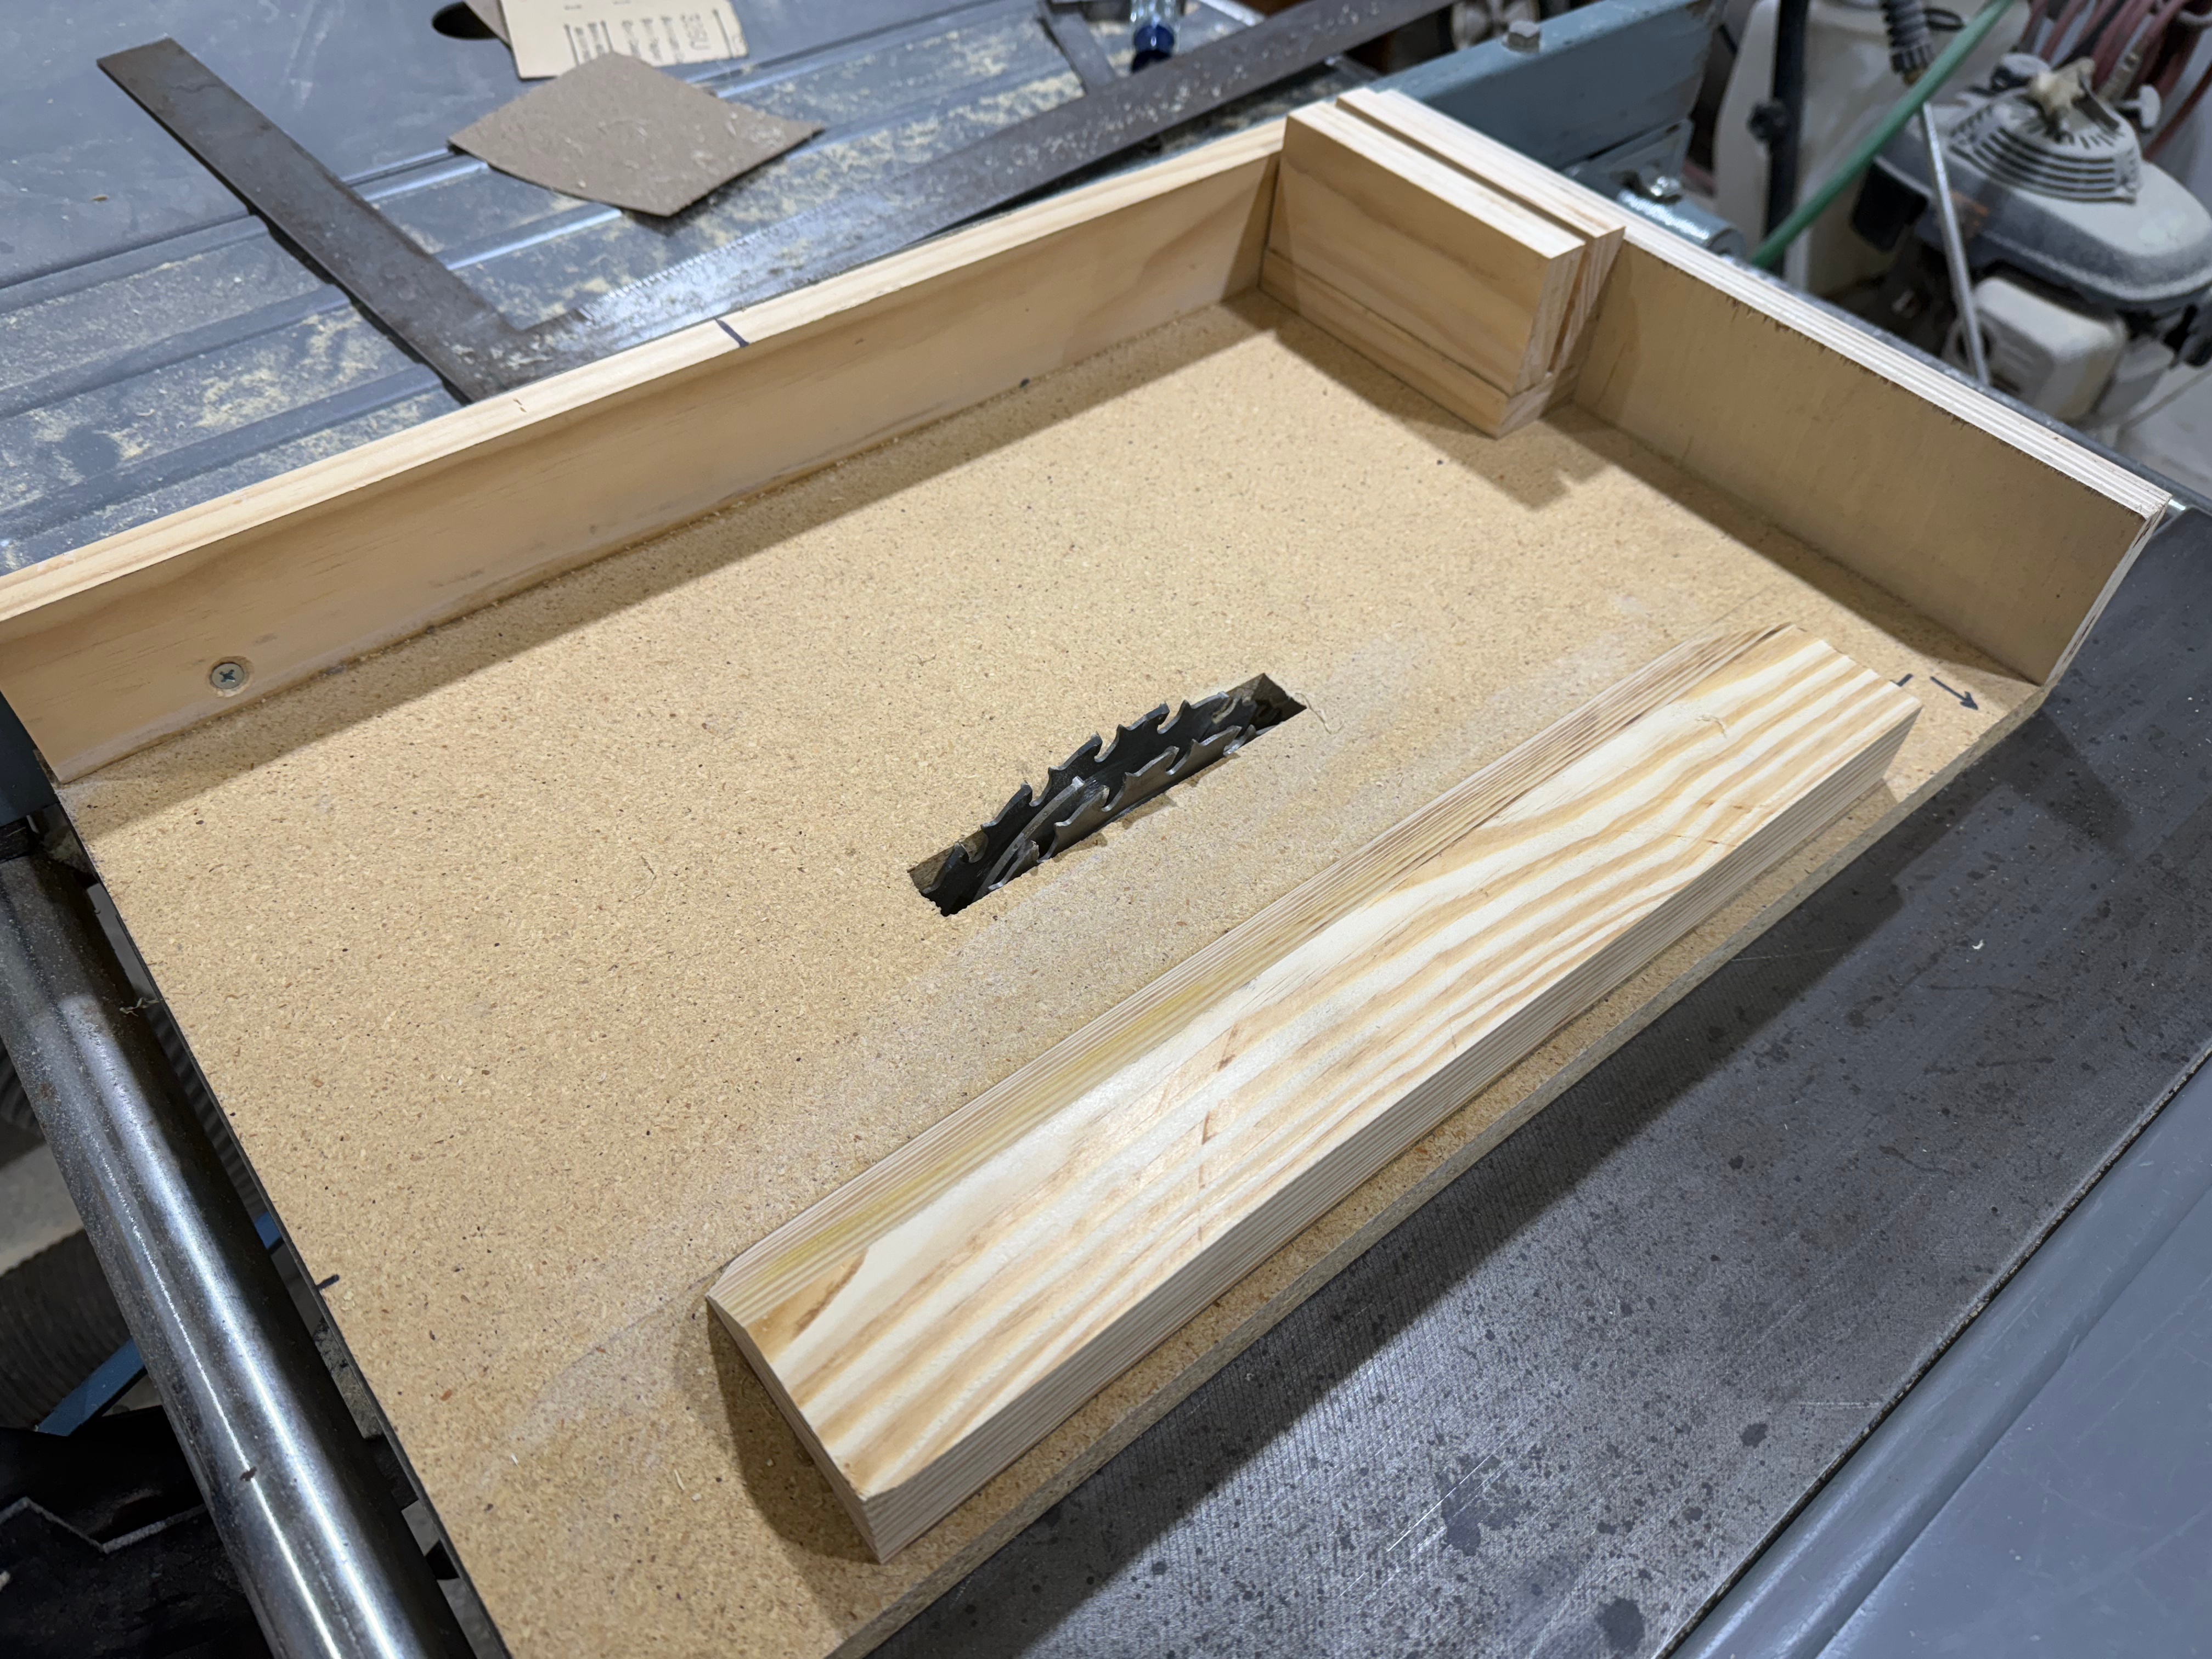
Above: 1/2″ deep handhold in a side.
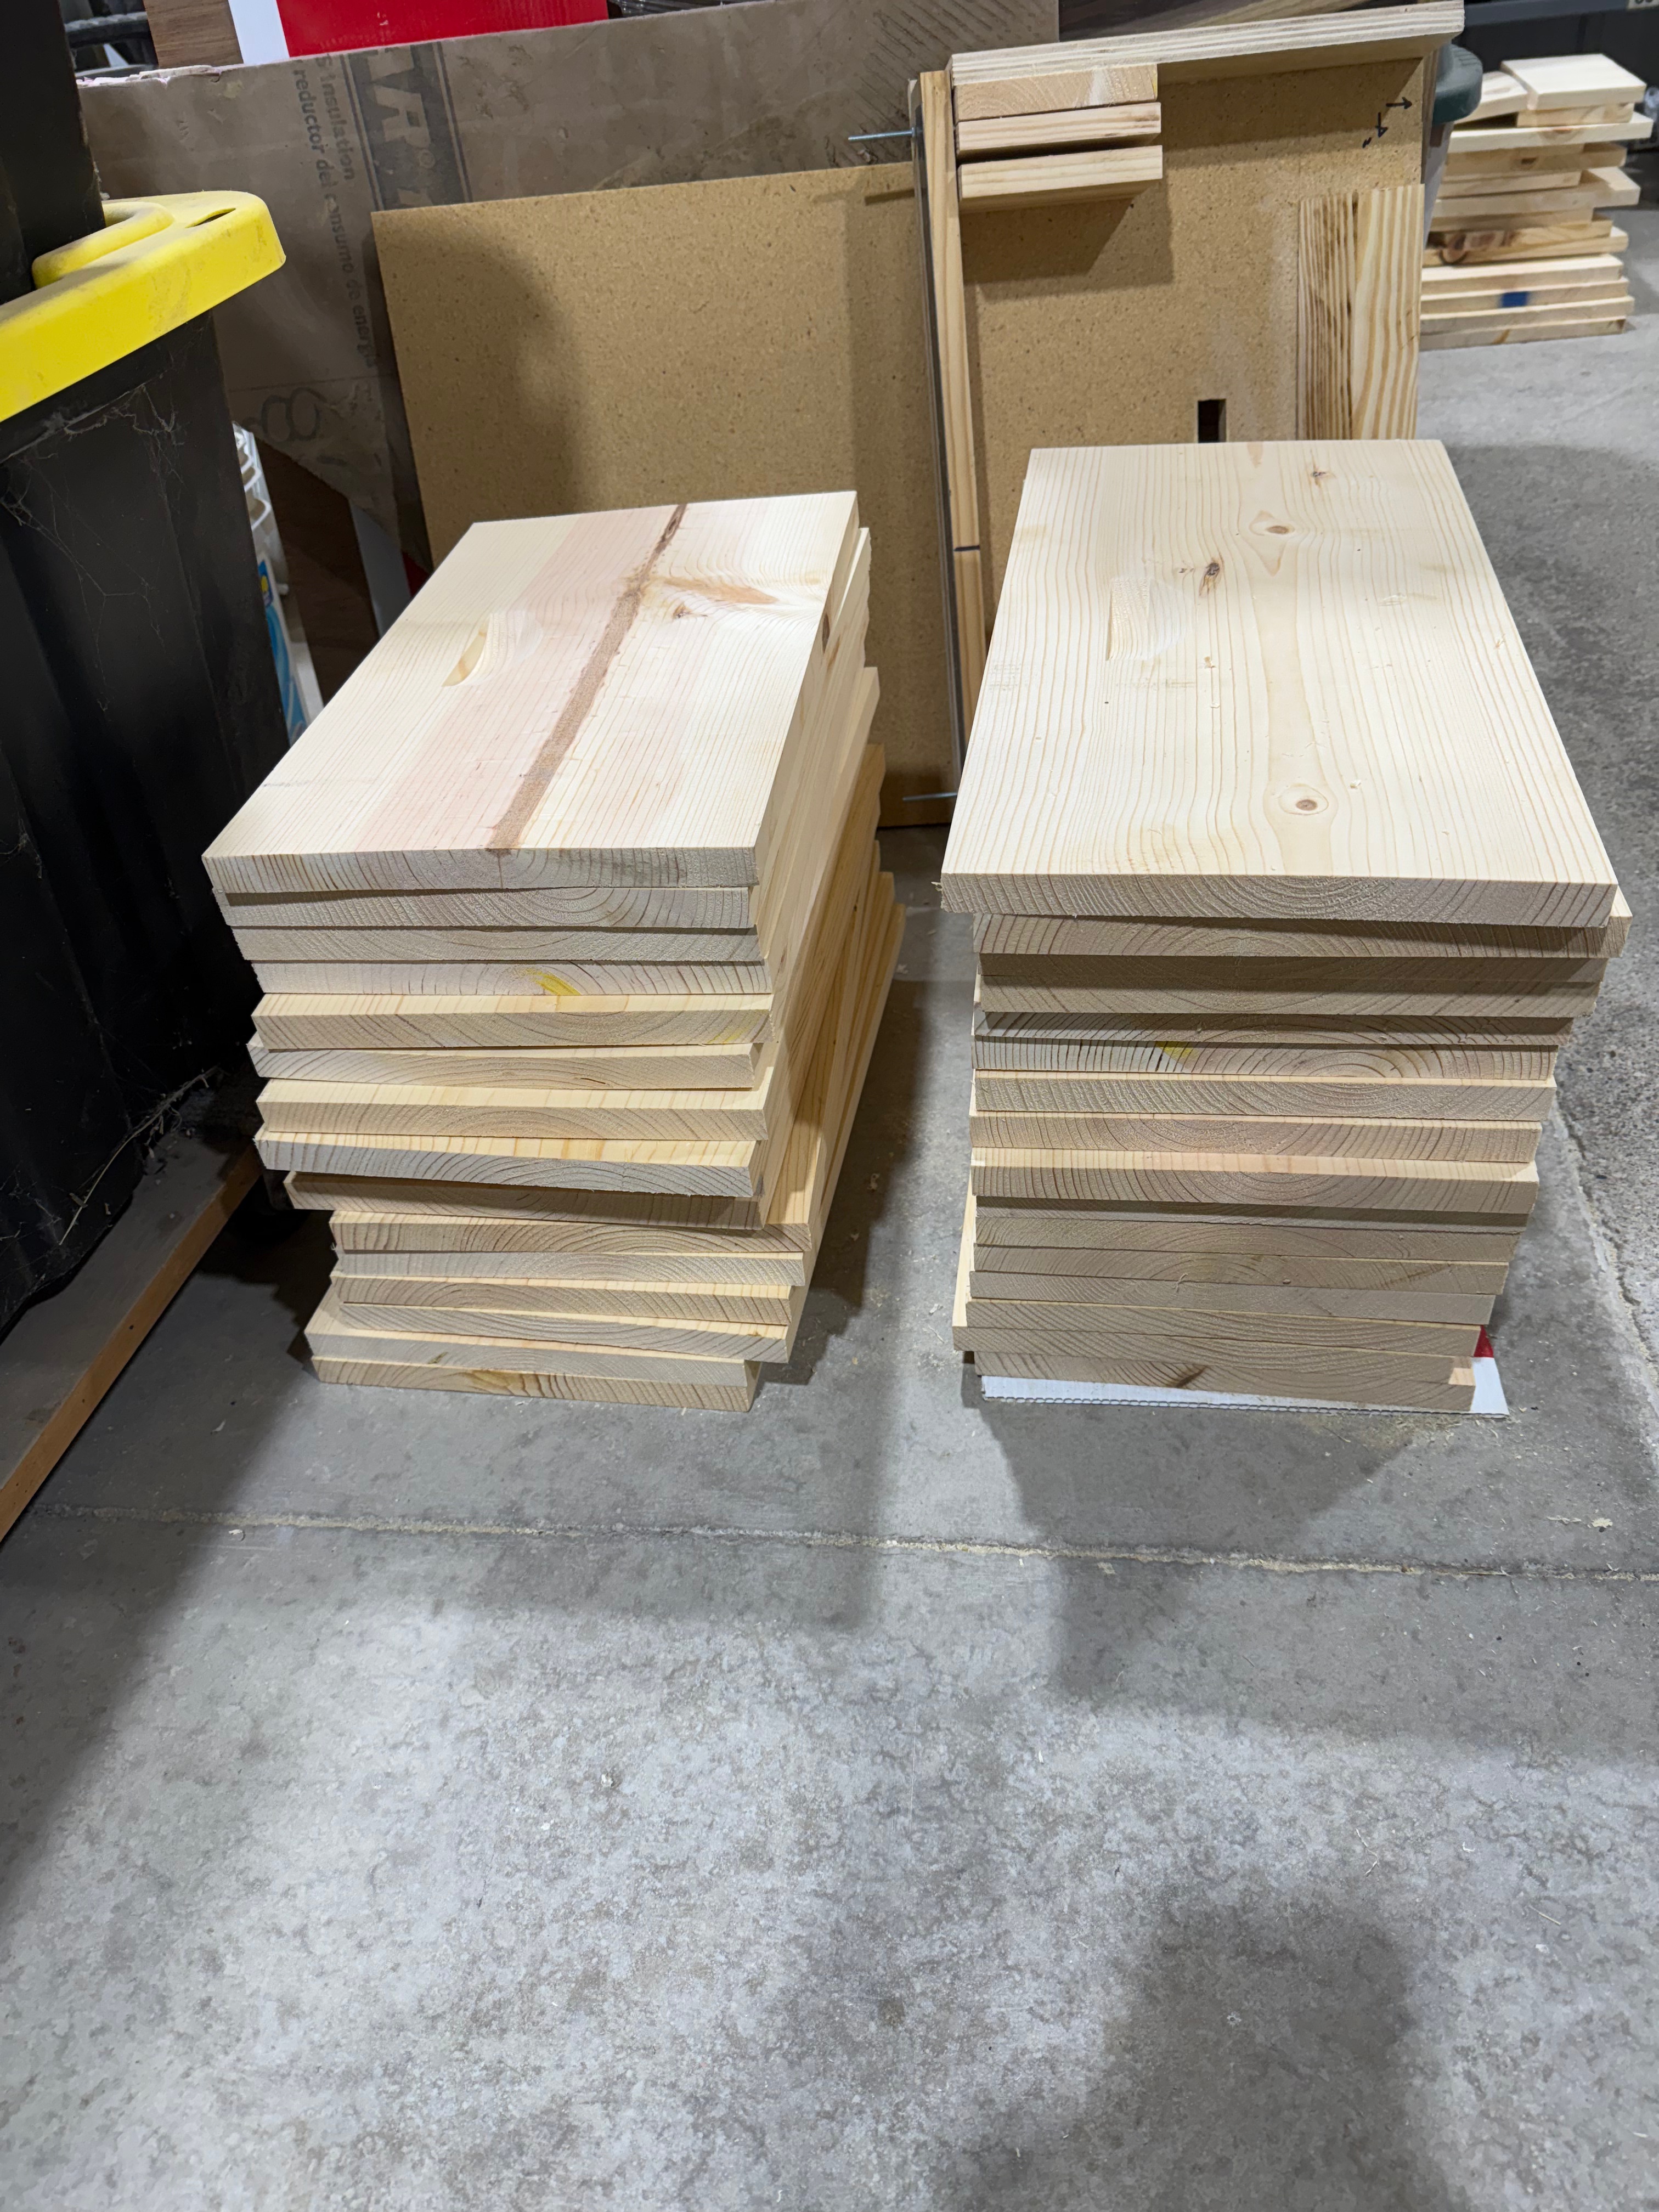
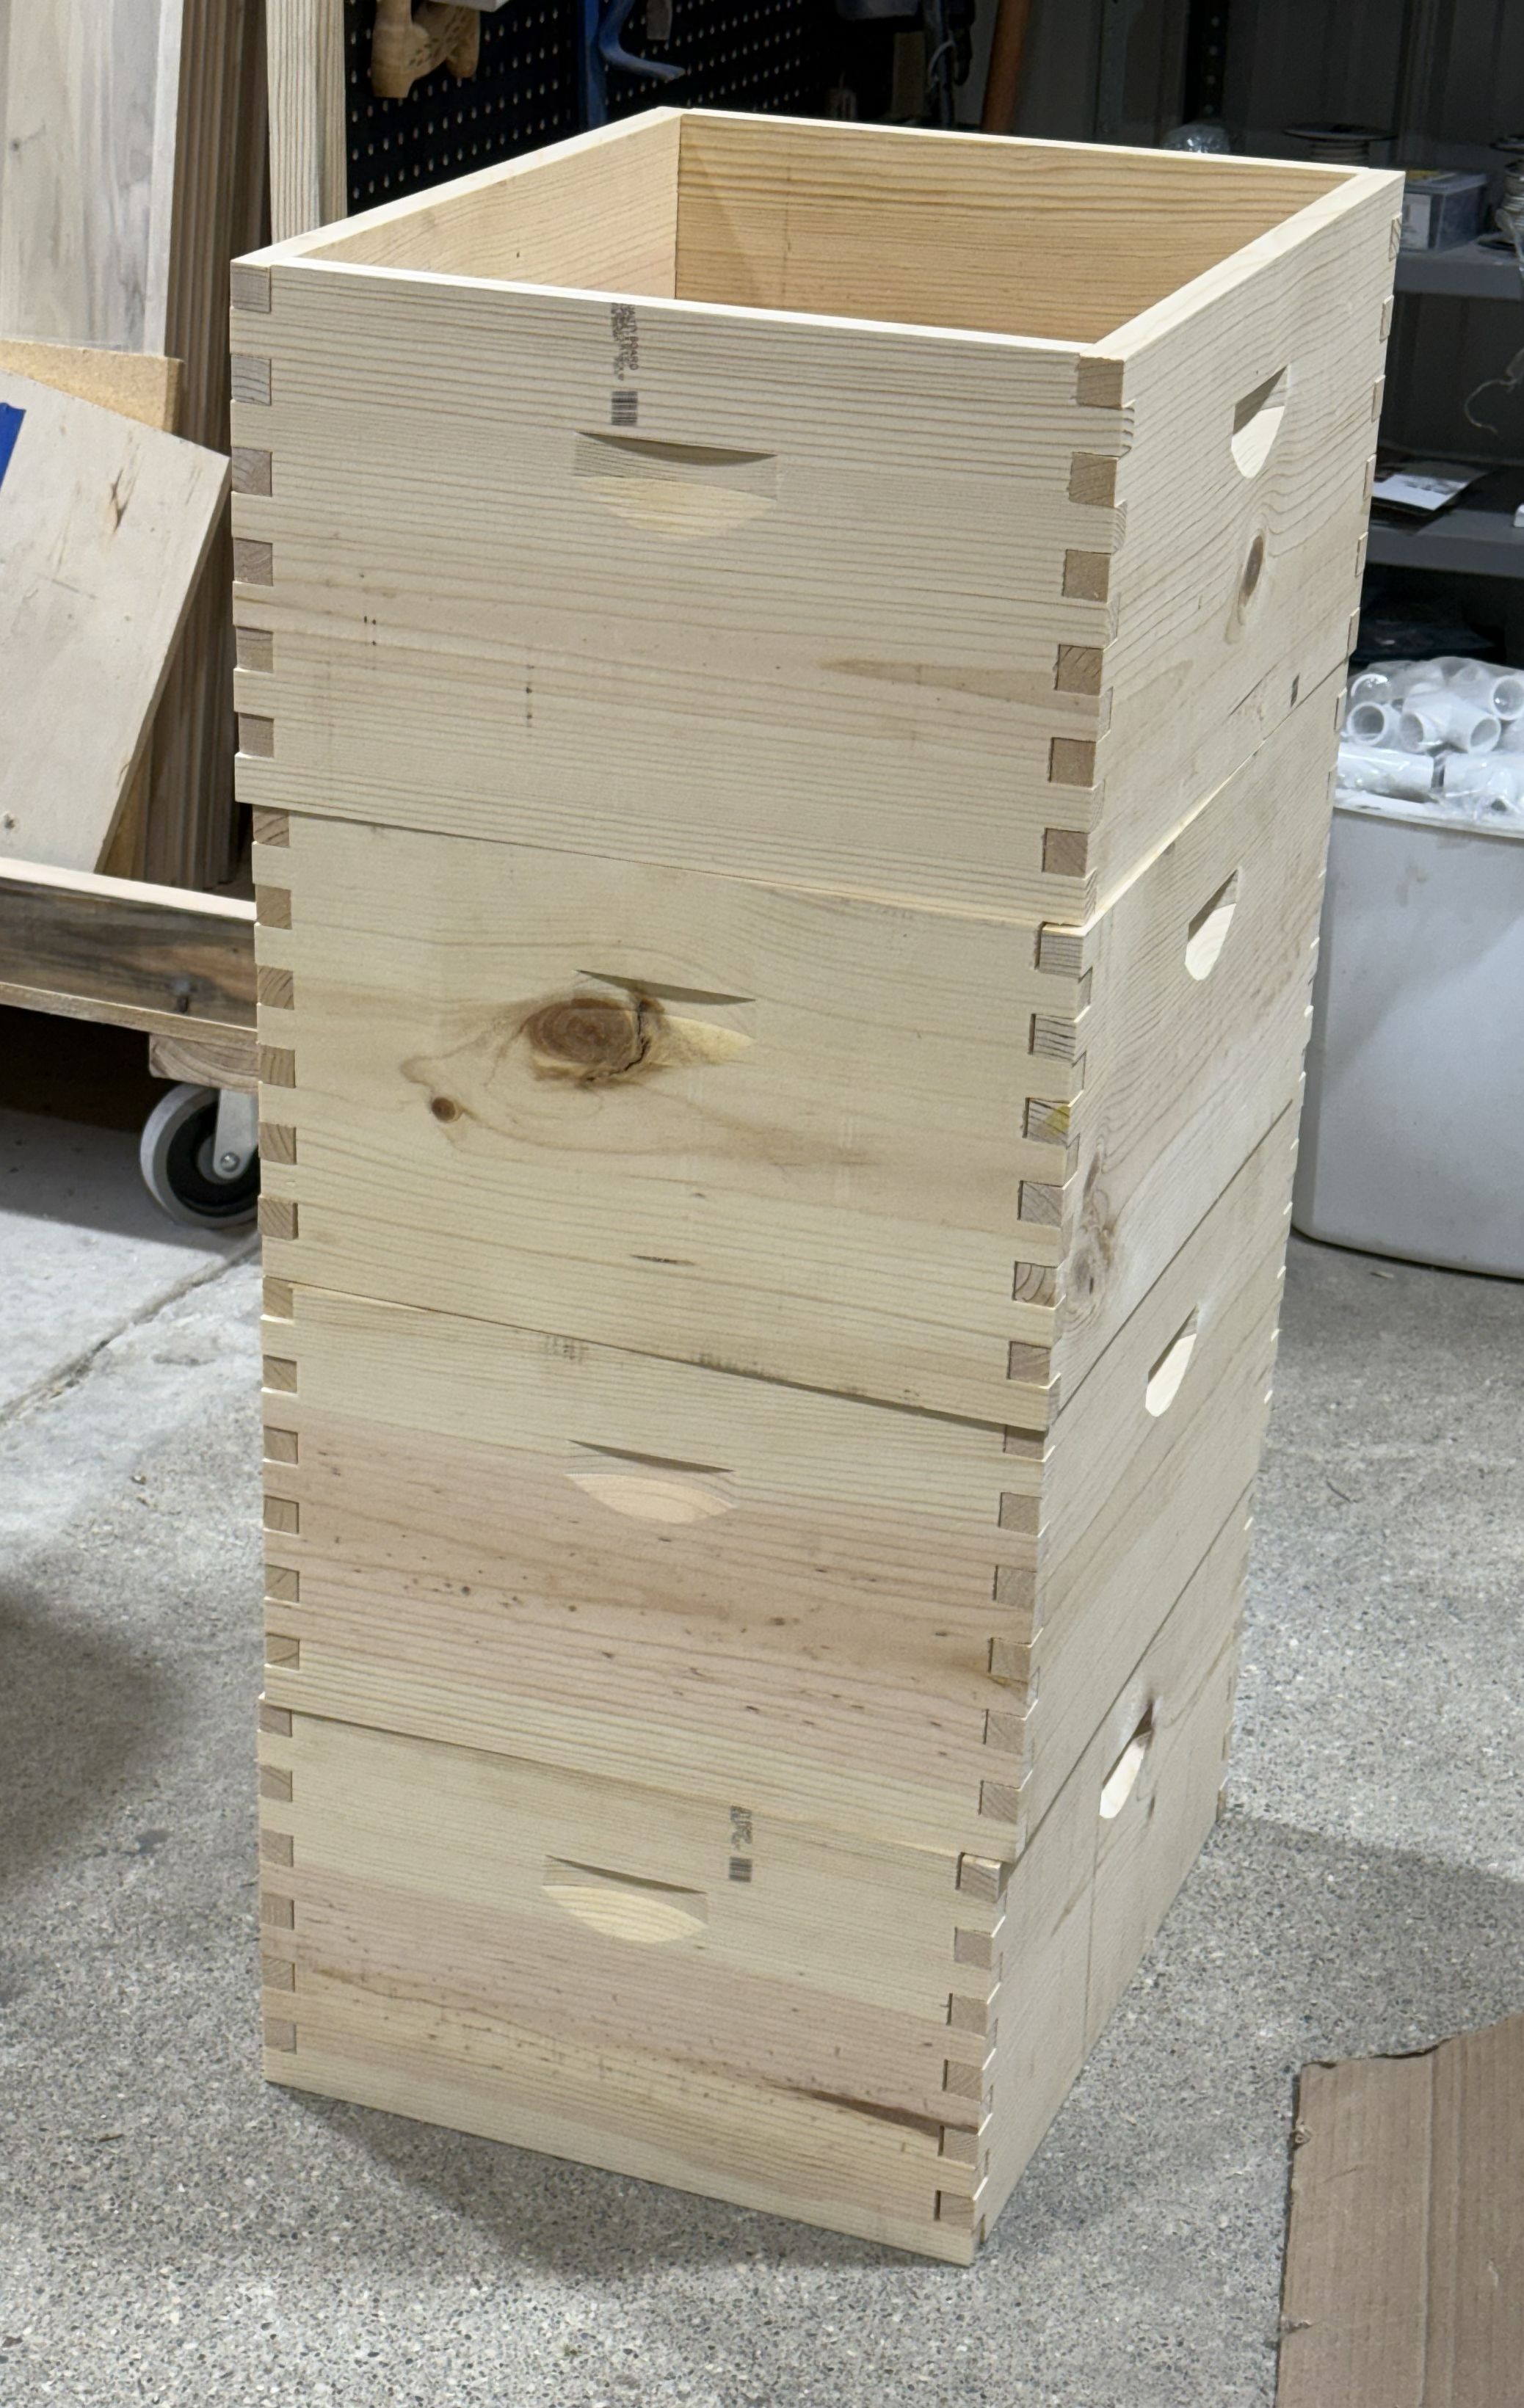
Above: Dimensioned parts for eight deep brood boxes, with the handholds cut.
Approximately three days of labor so far.
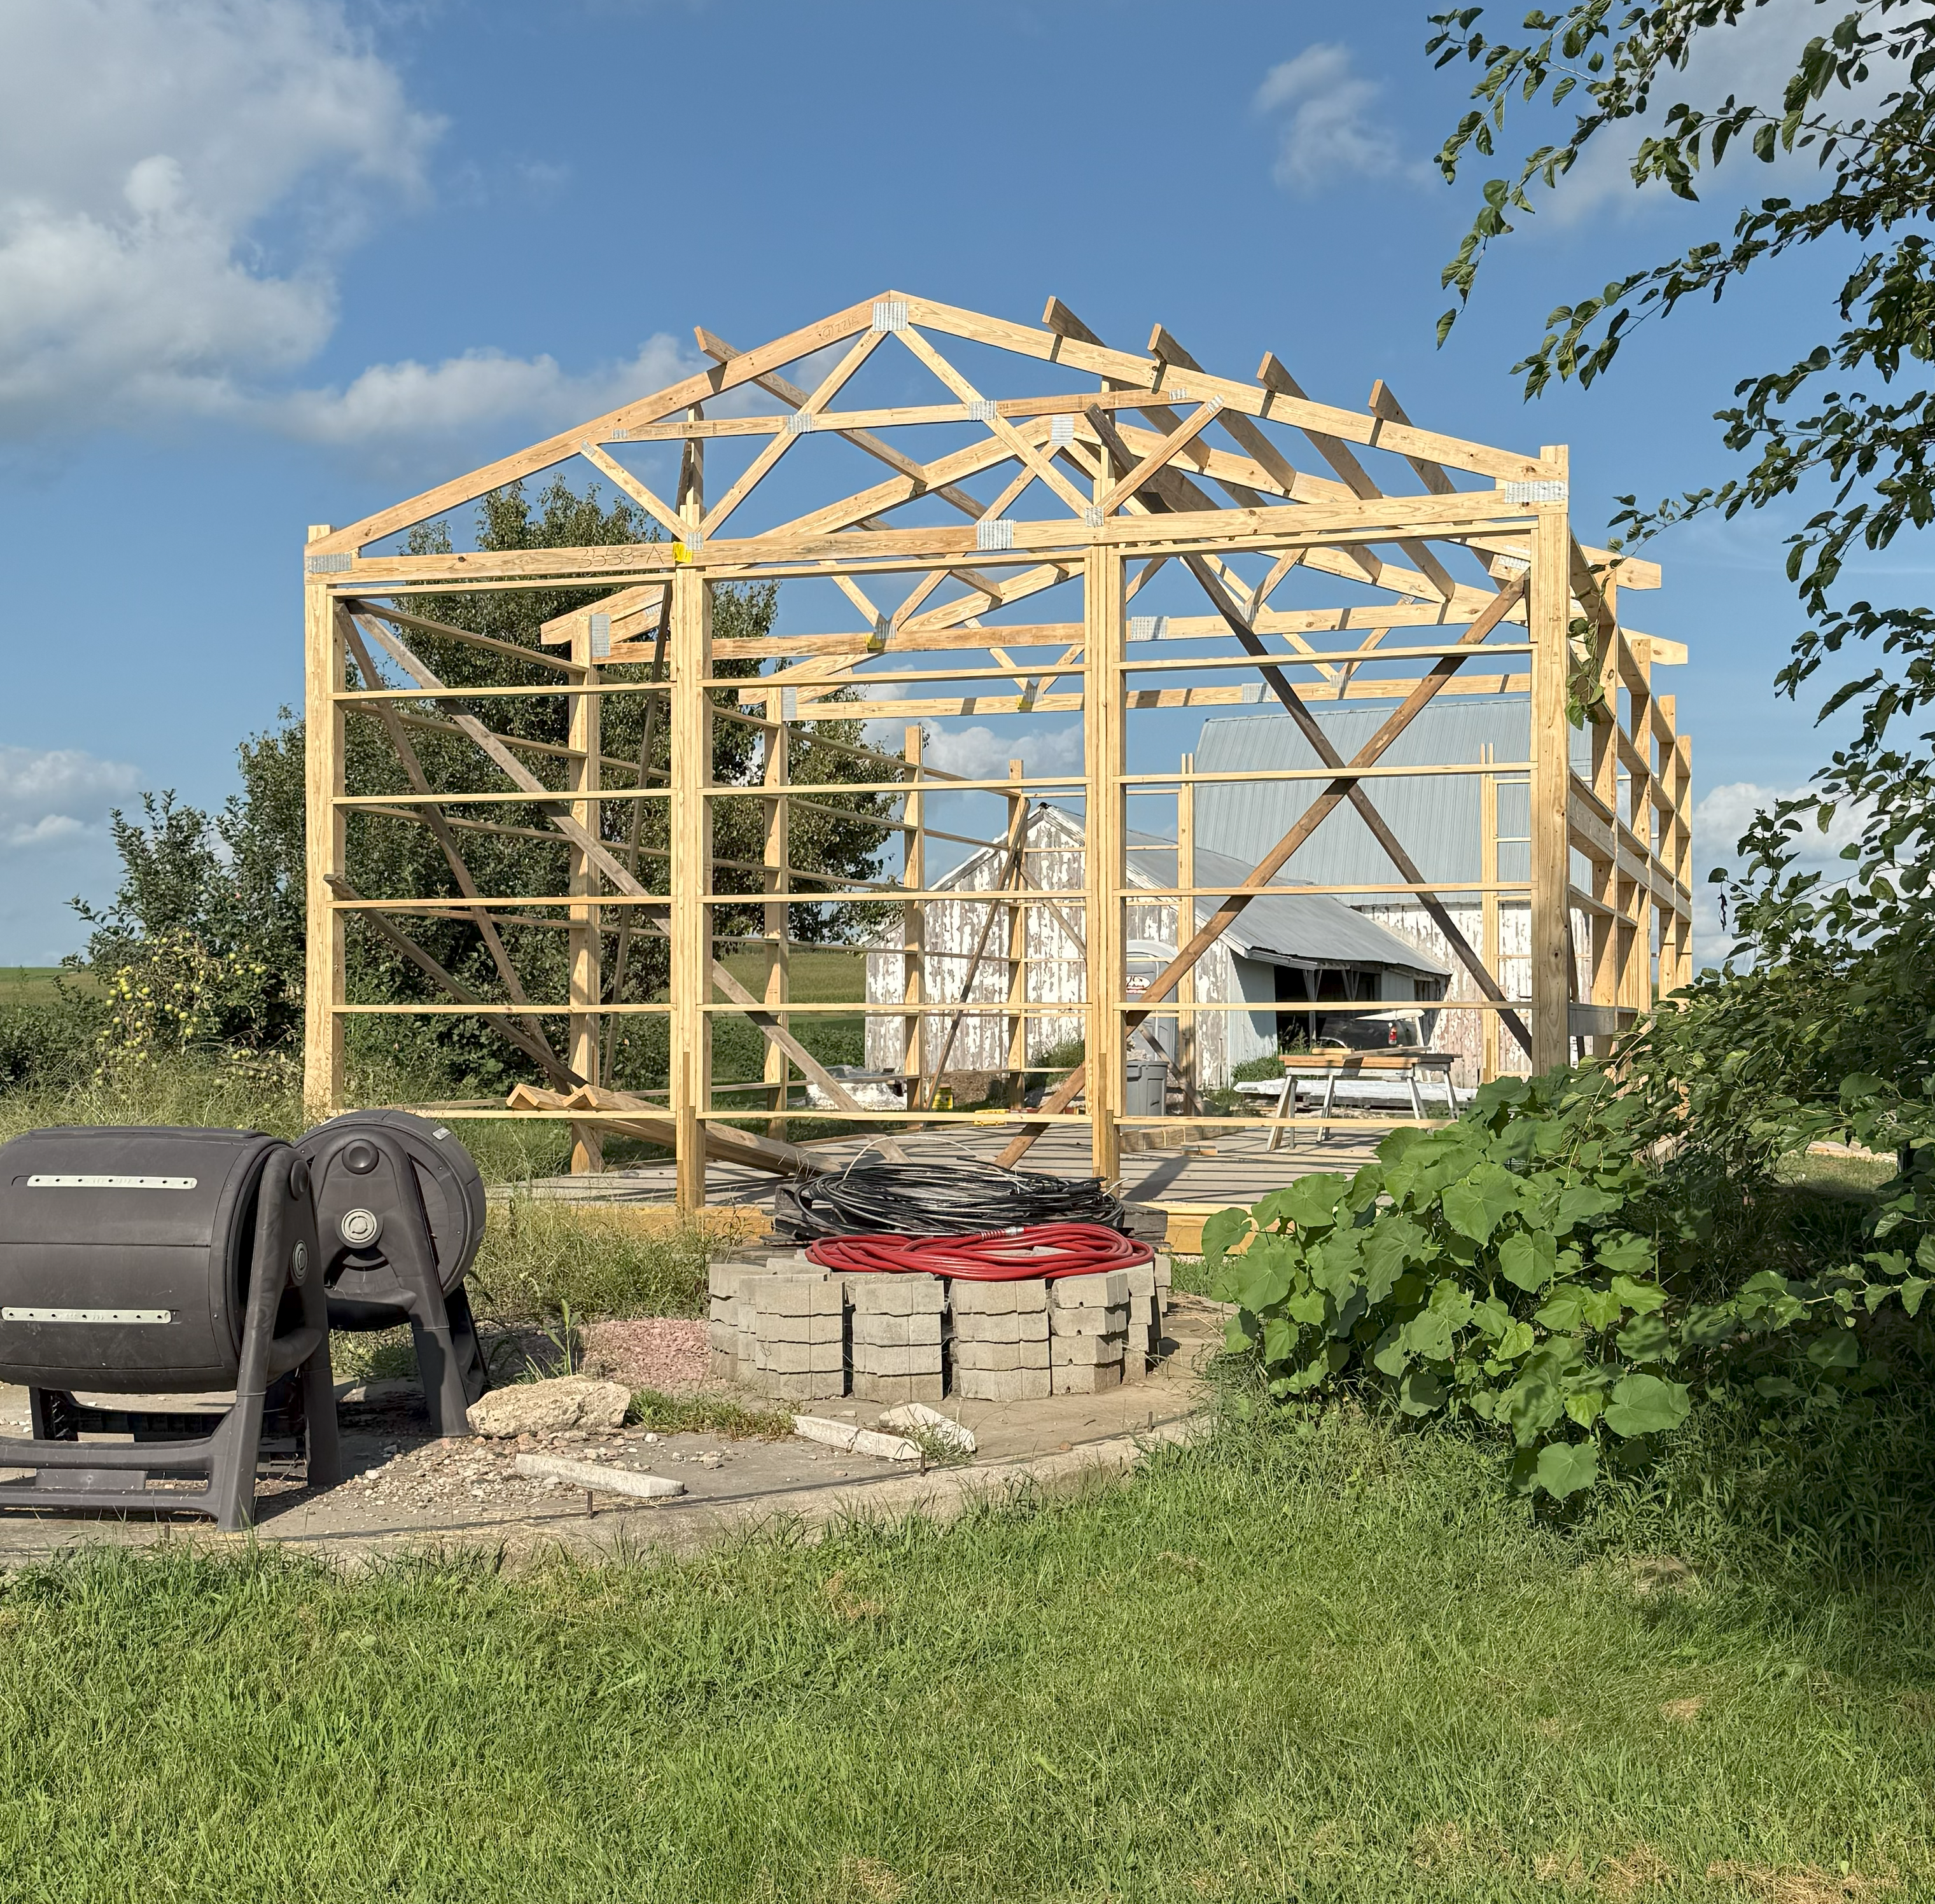
The new shop now boasts a new vertical storage rack for lumber.
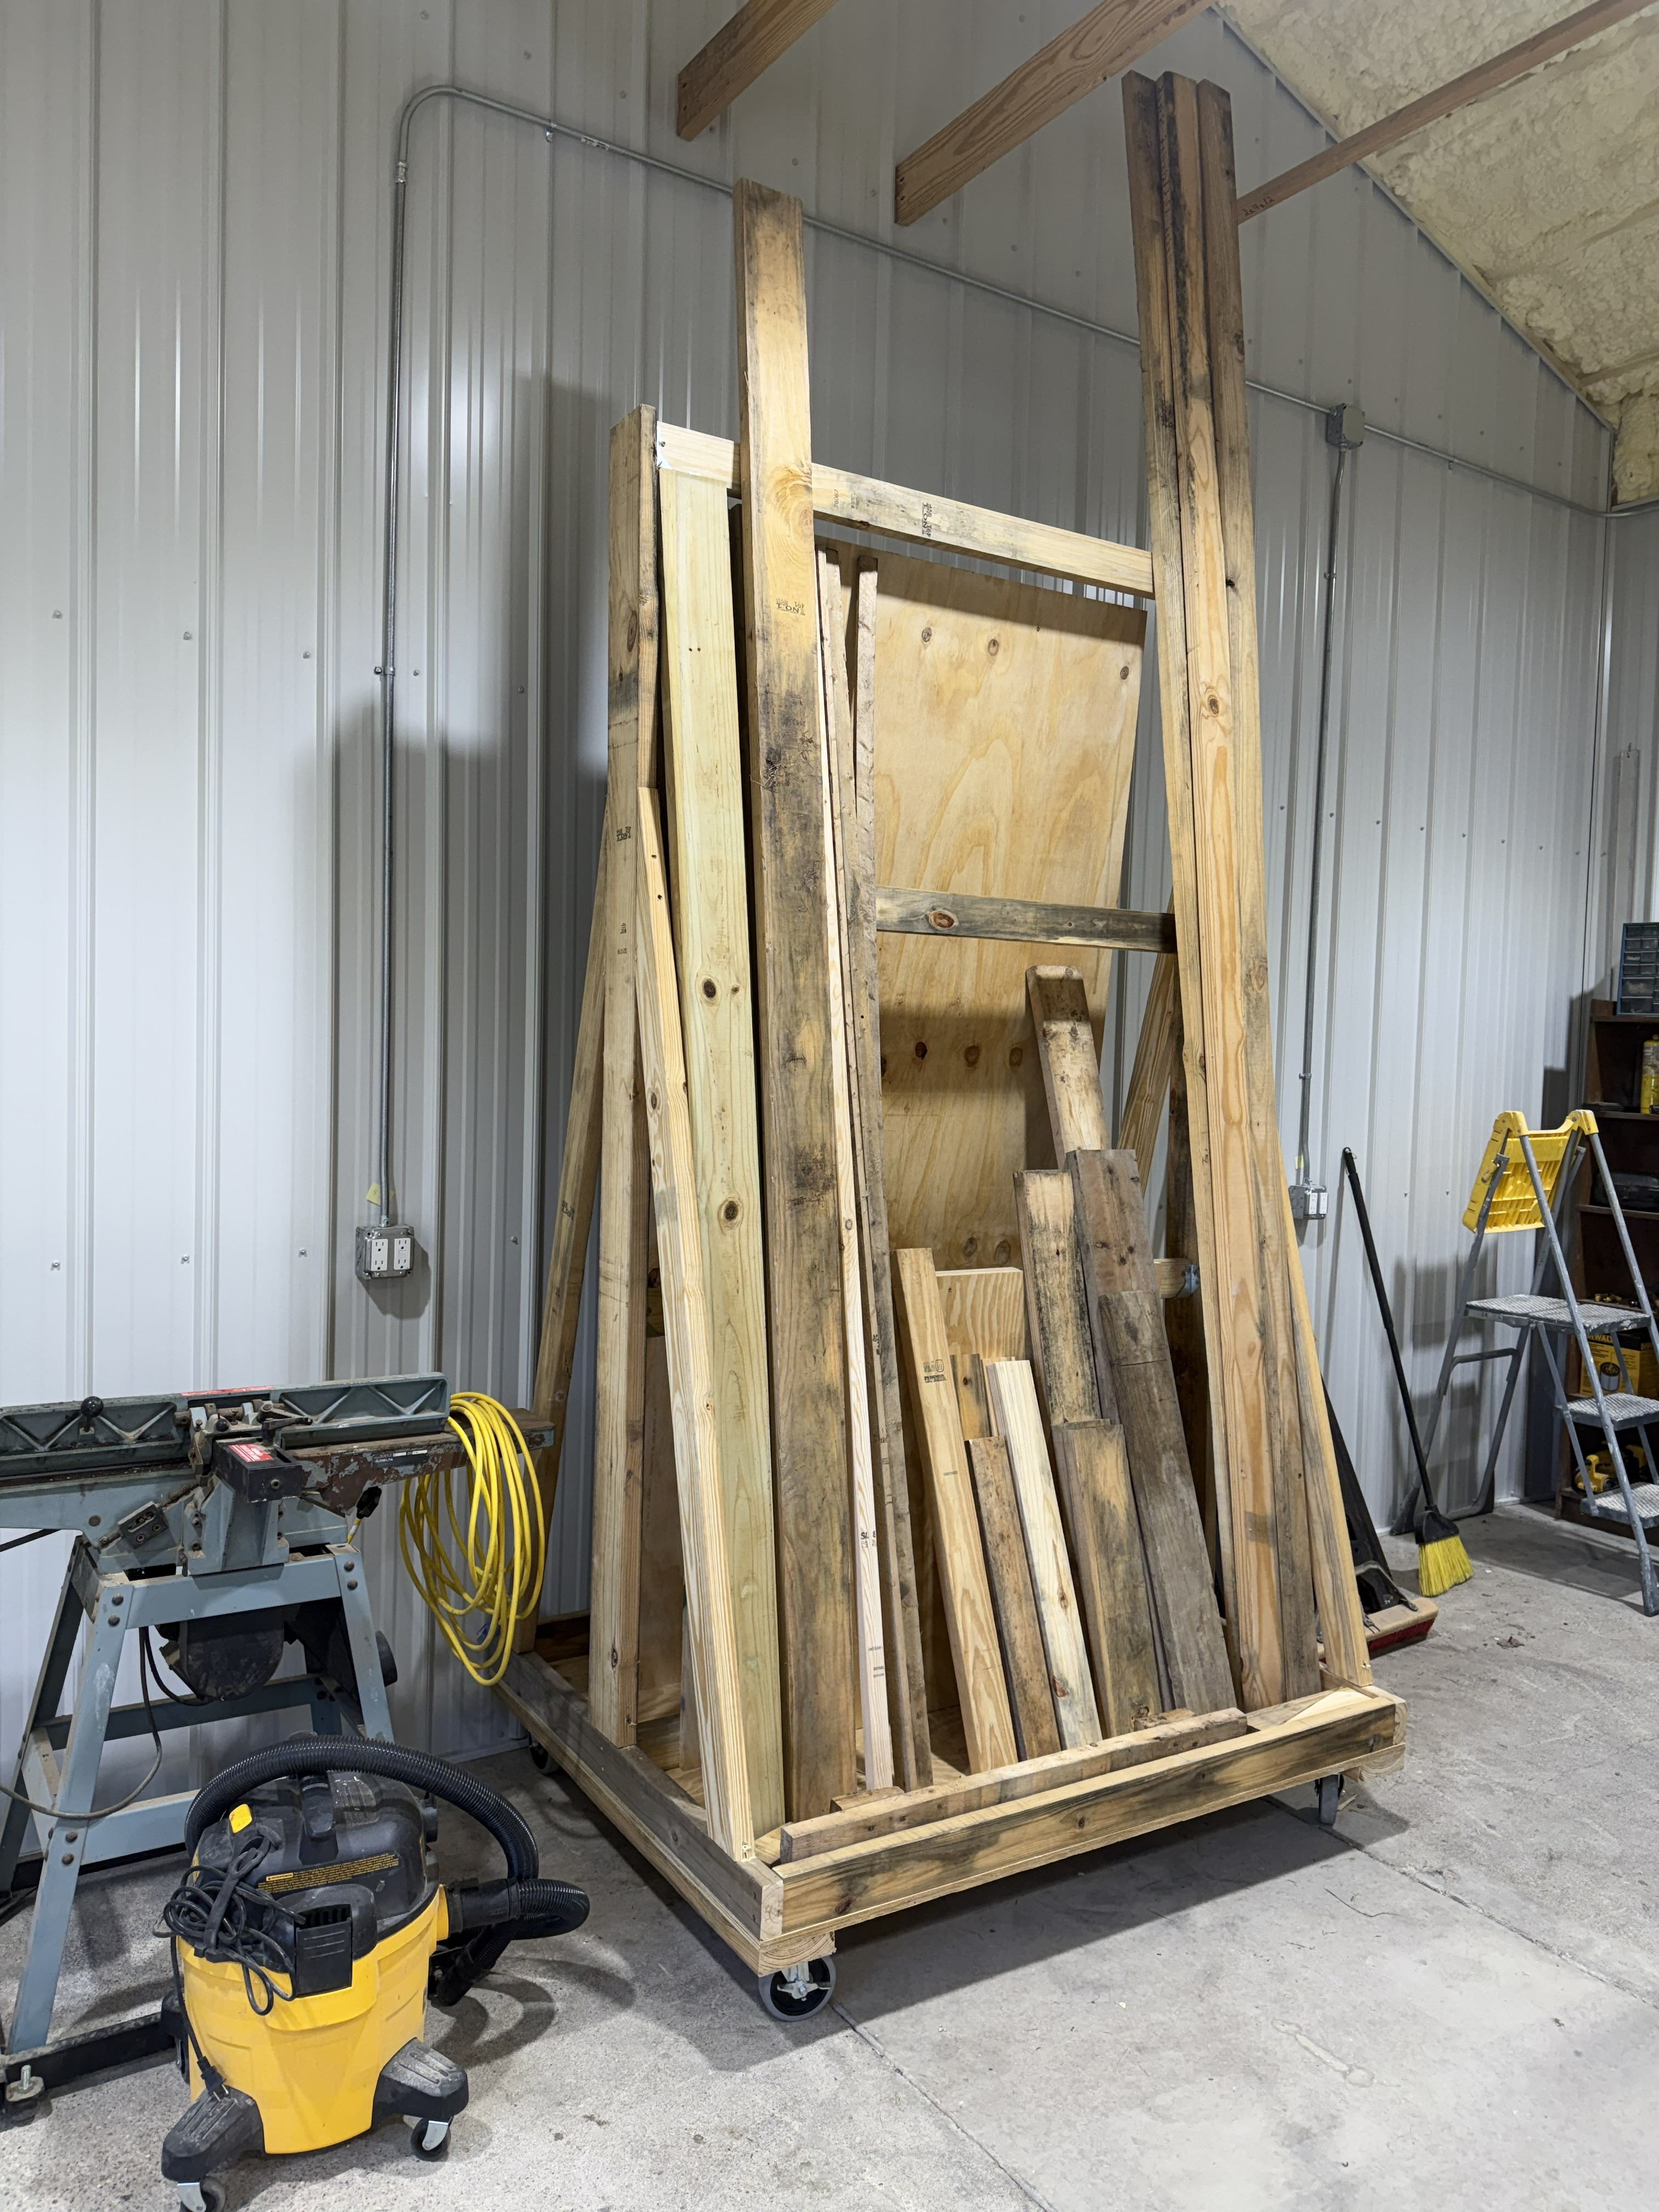
The 4″ casters allow it to be pulled out for access on the back side. That is a full sheet of 3/4″ plywood on the back. The 2x4s on the front right are 12′. The total footprint is 4’x5′.
The casters are mounted on 2x6s and the 3/4″ plywood base is stiffened by 2x4s on edge around the perimeter and across the center. The remainder of the plywood sheet provides rigidity side to side for the tower. You can see the top edge of it in the center behind the short stuff. Front-to-back, the tower is braced by 6′ long 2×4’s.
The front casters swivel, while the back ones are straight.
…to be moving equipment into my new shop space.
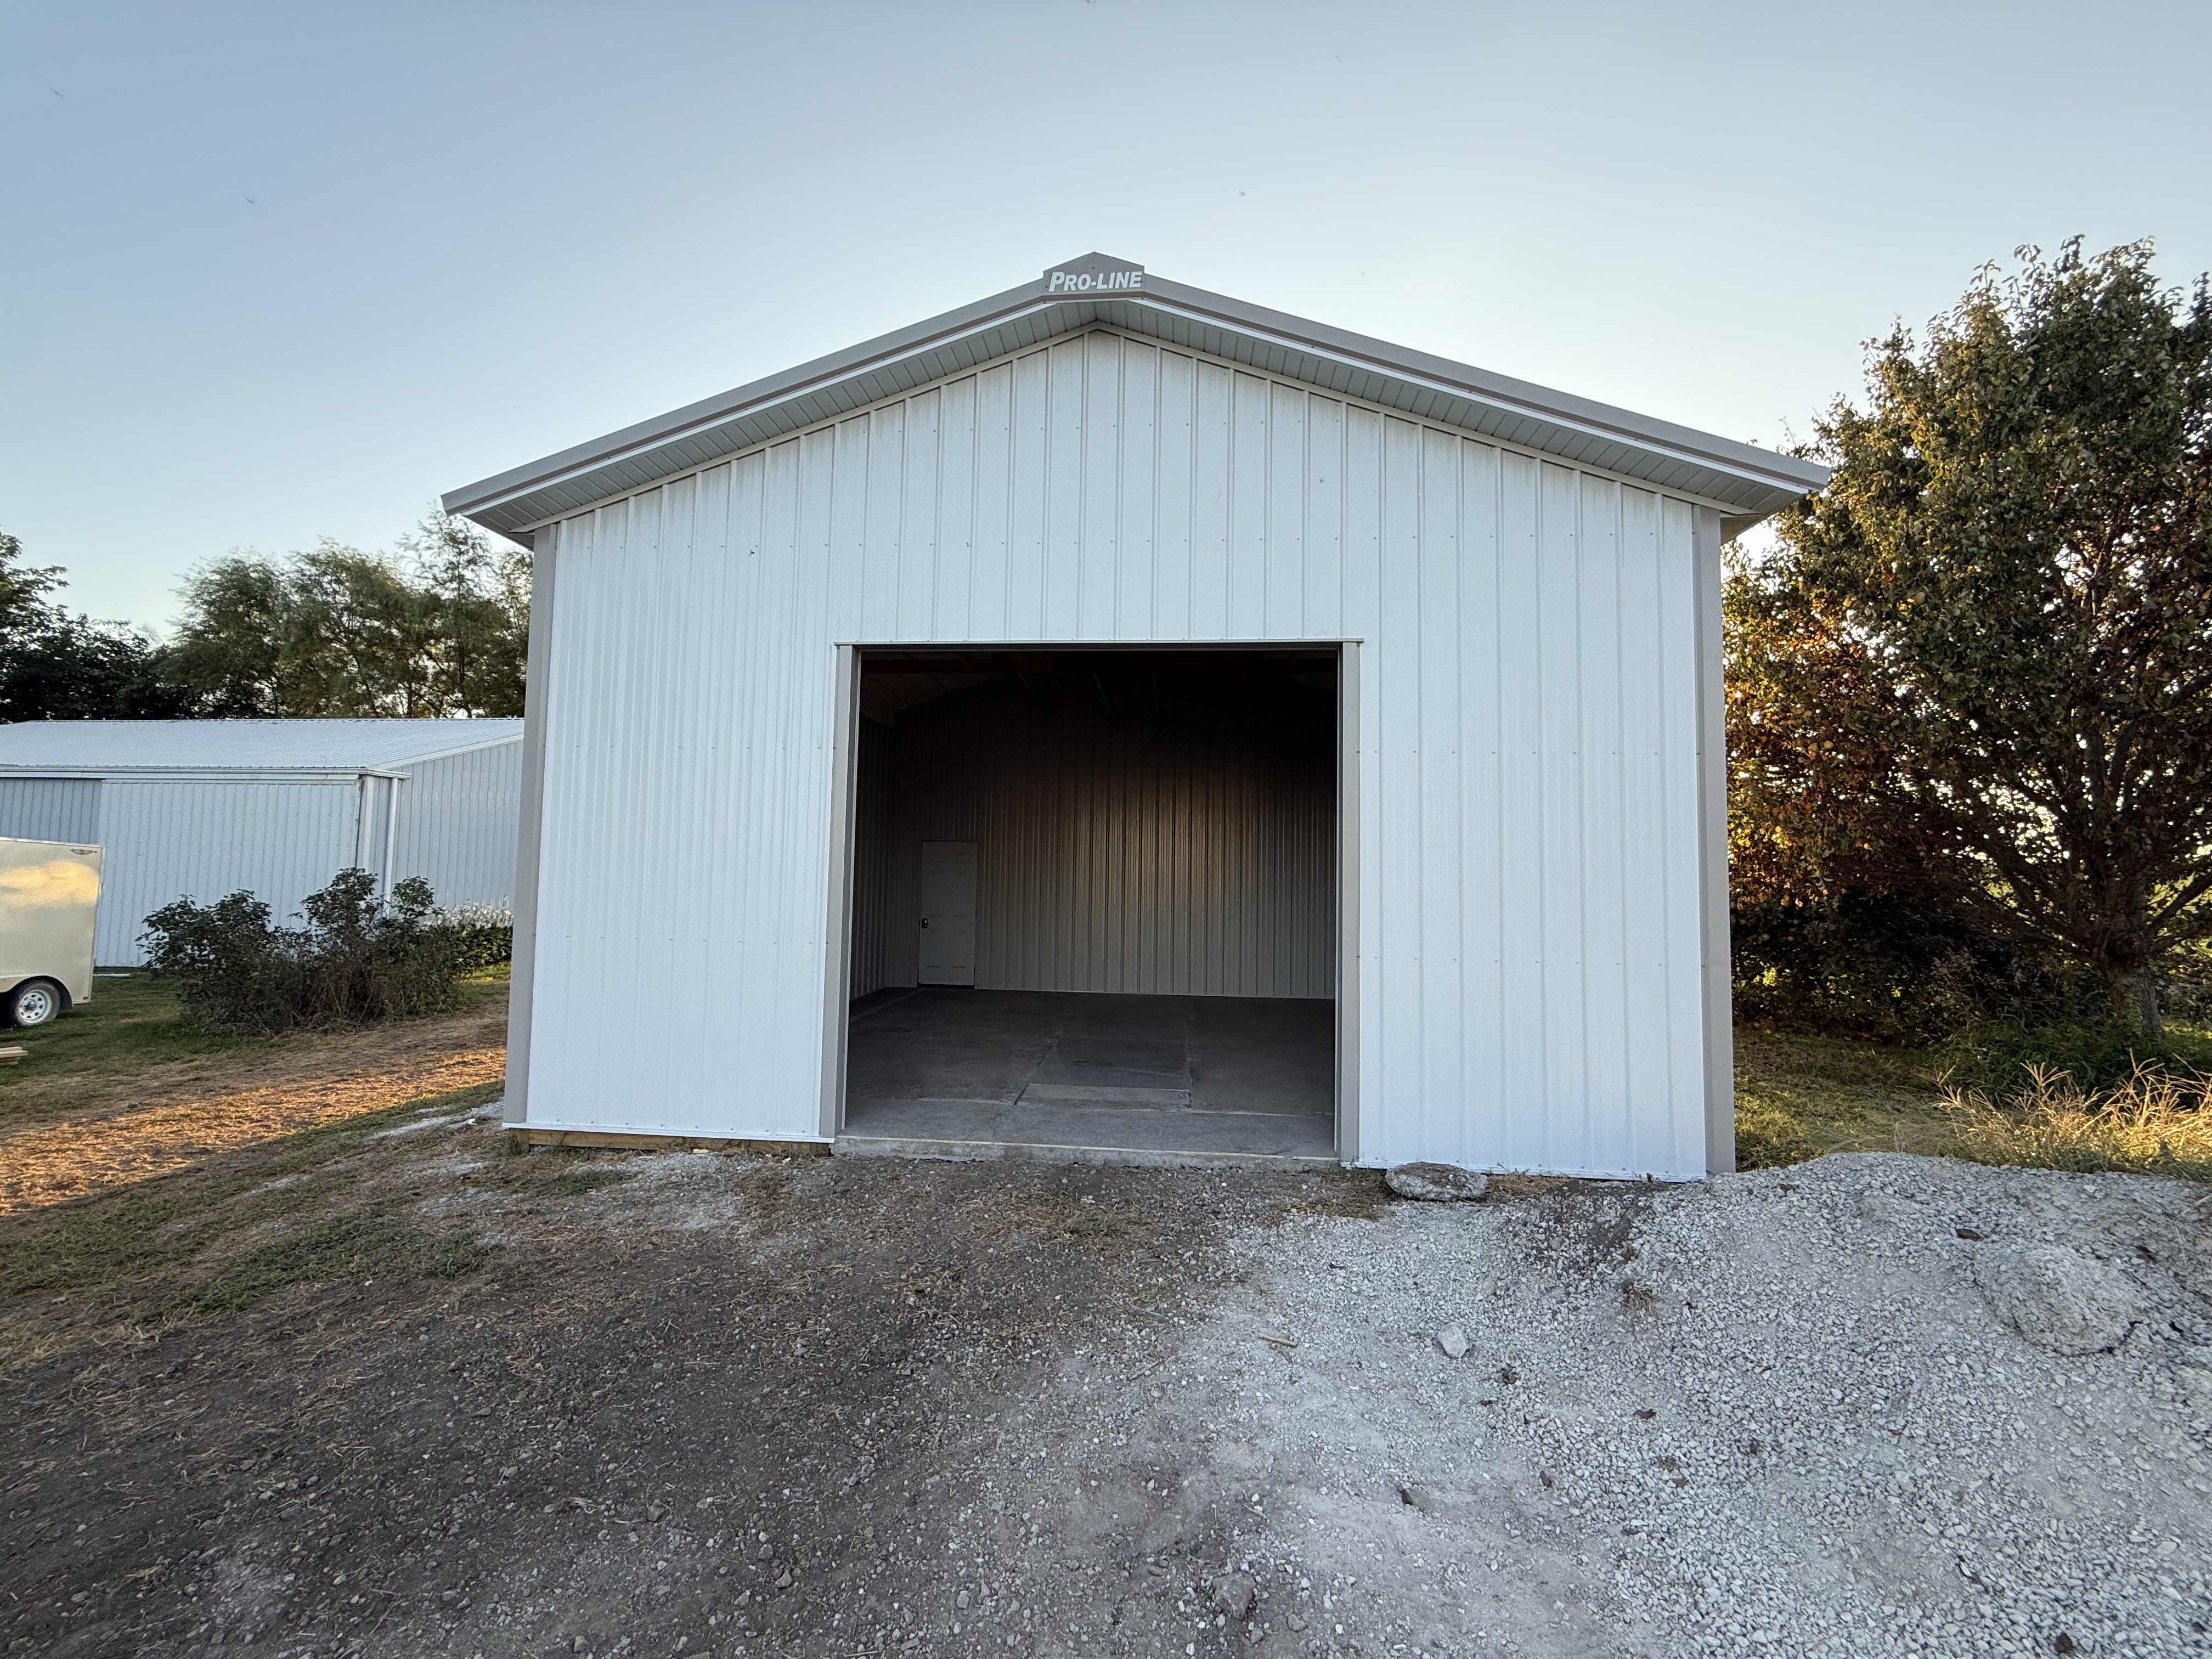
I haven’t posted a woodworking entry in quite a while. So here goes…
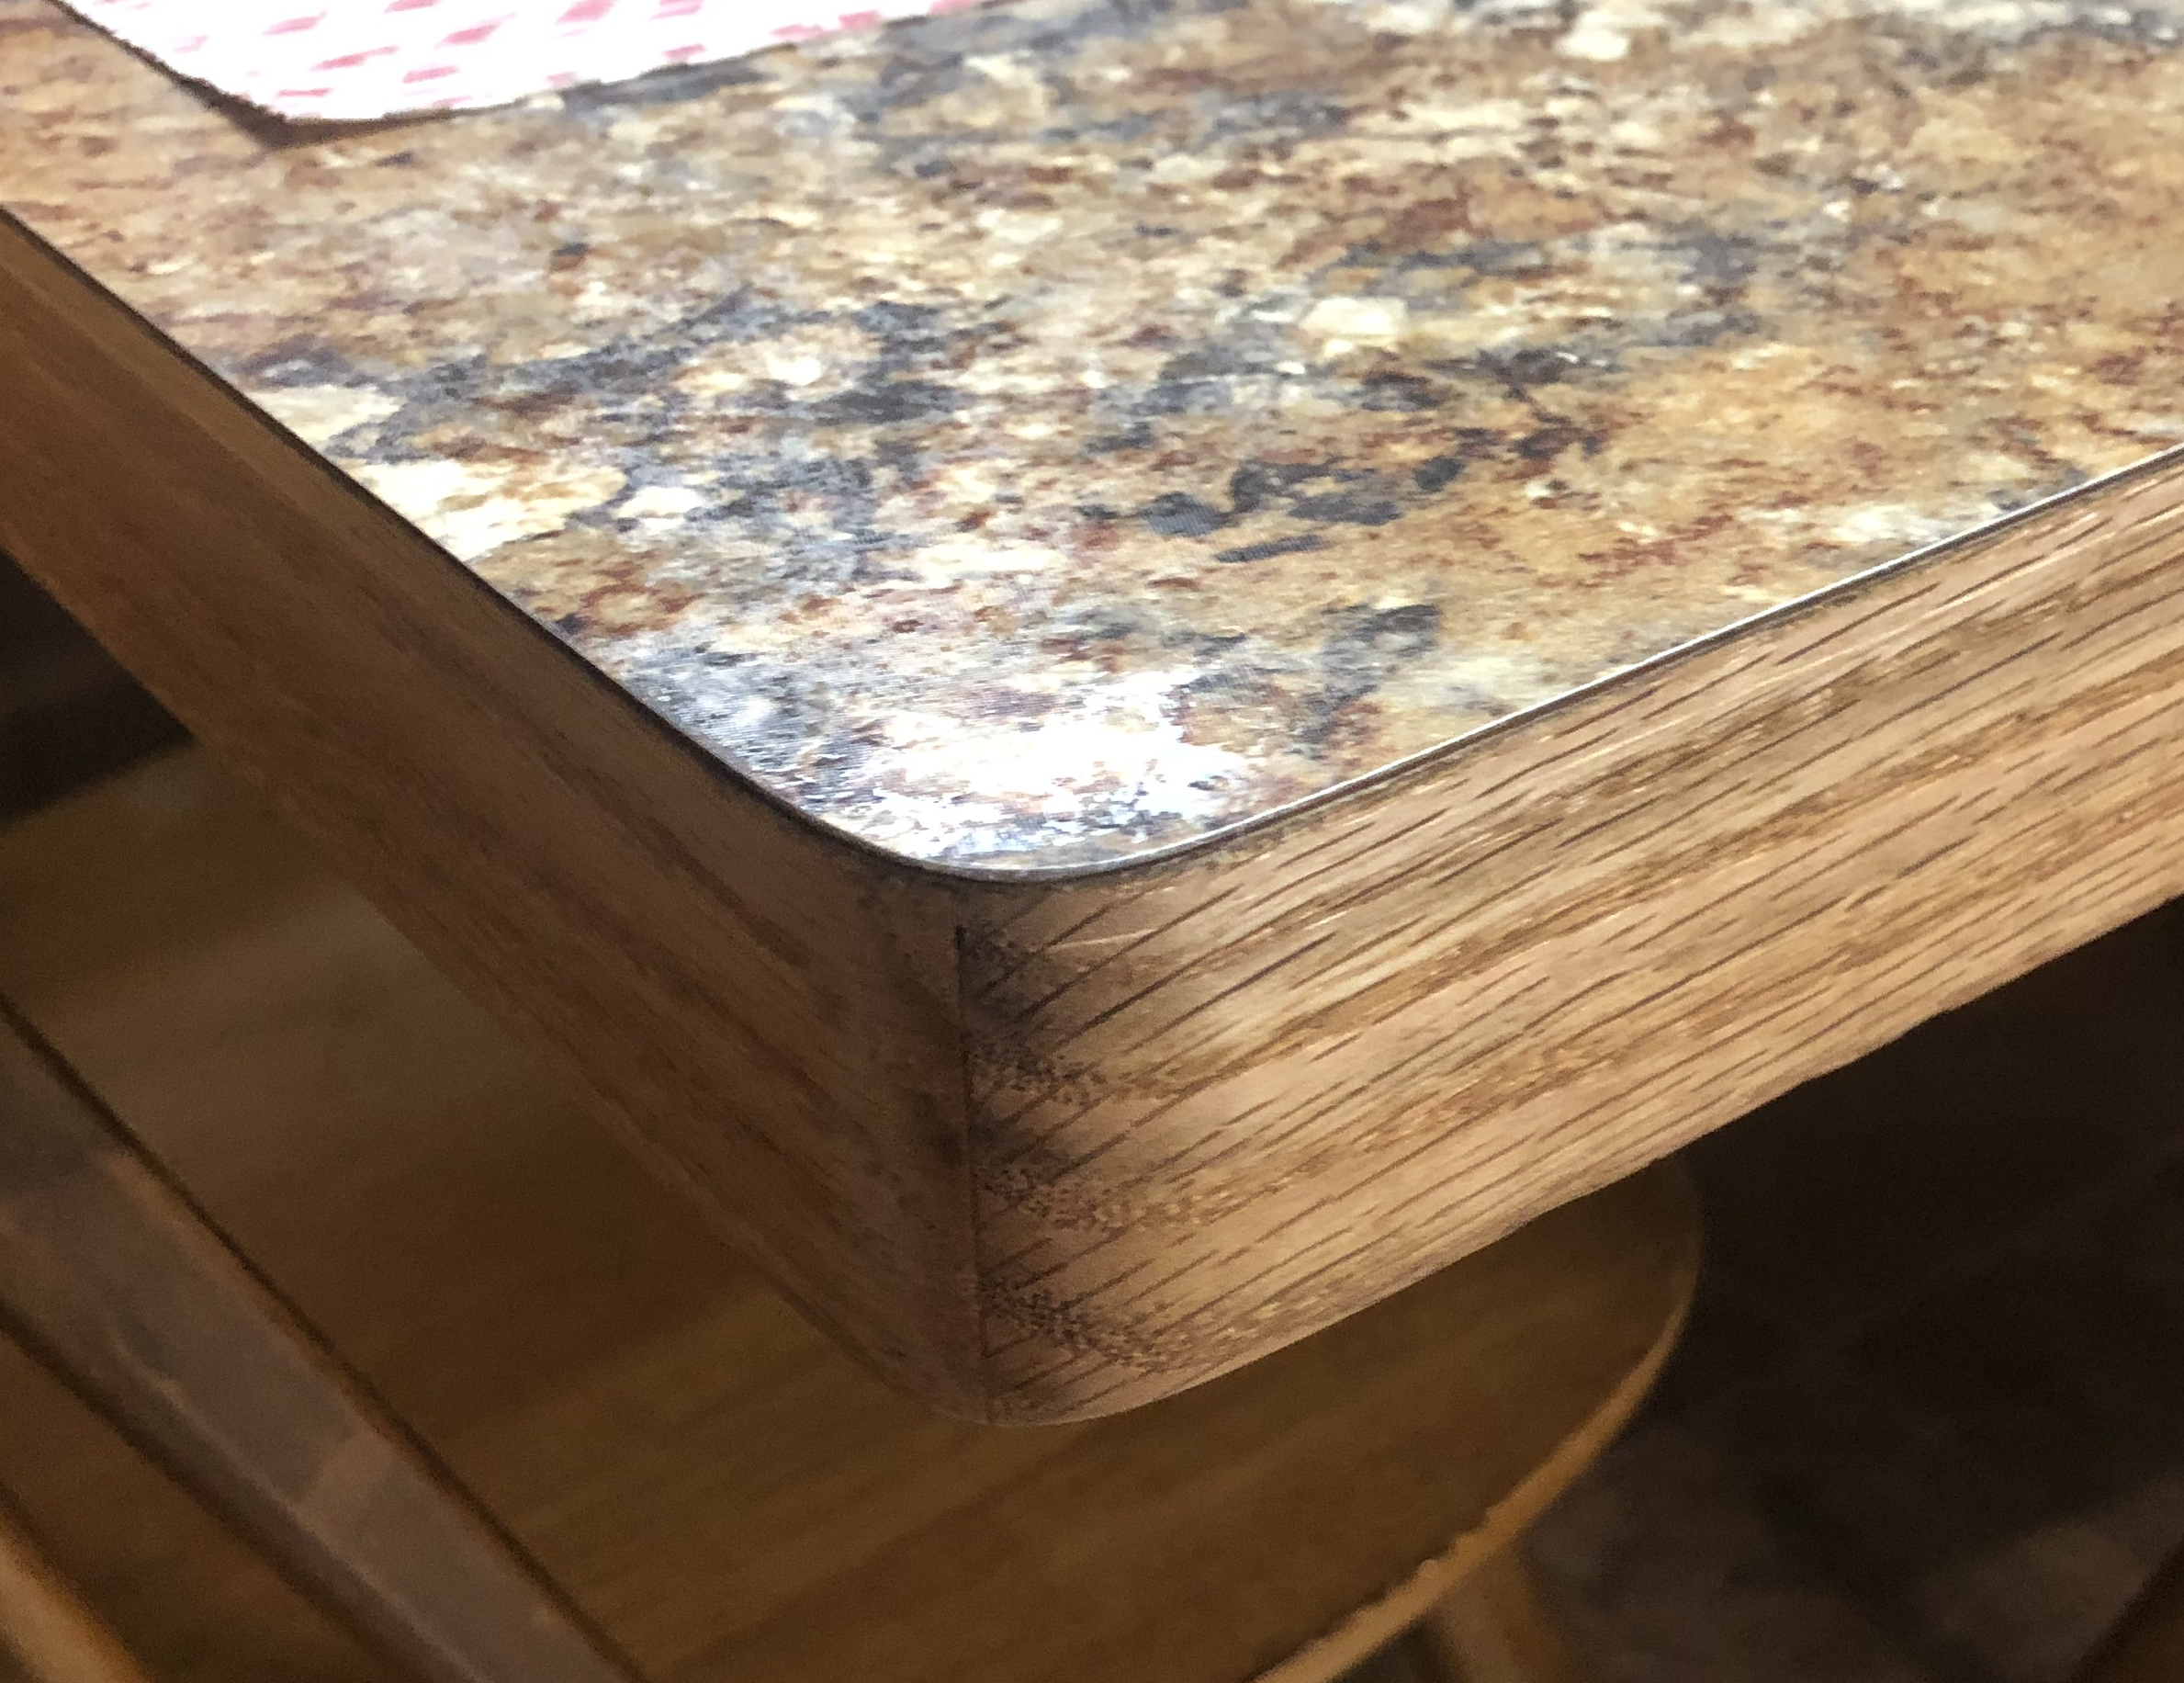
My wife purchased a table for use in the kitchen a few years ago from the Legacy Thrift store near where we live. The table is a good fit for the space available. However, the previous owner had made an attempt to spruce up the veneered surface with a faux woodgrain paint job that did not really seal and protect the thin veneer, which was splitting and curling at the splits. It also had extension wings designed to slide back underneath. The cracks tended to collect my dribbles and were hard (to impossible) to clean. The picture below is of the new top that I made for the table. If you are interested, I describe the process below, including a costly misstep.

Table: 30 X 64 inches
I started with a sheet of 3/4″ sanded plywood, and sawed it to size, accounting for the 3/4″ thickness of the red oak that I edged the plywood with. For large pieces like this, I always eschew the table saw and instead use my 7″ circular saw with an 80-tooth carbide-tipped blade. I use a clamped guide board to get a precisely straight cut. Measure, measure, measure, then cut. Red oak banding is 1.75 inches wide and is not merely decorative. It provides significantly more stiffness than the plywood alone.
I cut a dado in the red oak to a depth of half its width and the same depth as the thickness of the plywood. This modification to the banding is critical to a strong glue joint precisely aligned to the top. The joint on top is covered by the laminate, which goes all the way to the edge.

This inset was made on the table saw with a standard fine-toothed carbide blade in two passes, one on the edge and one on the face. The trick is controlling the setting for the height of the blade and the distance to the fence. Make all the related cuts after each setup, as it is nearly impossible to get perfect alignment of a second setup. It is imperative for these types of cut to use a feather board to keep the piece up against the fence and to use a push stick, assuming you are fond of all your digits.

Family members and other acquaintances who have sawed off body parts have told me that they didn’t feel it until the damage was done. I plan to continue taking their word for it. Don’t put your hands anywhere near the blade, ever.
The corners of the banding were carefully mitered on my table saw prior to glue up. This was done by setting the miter gauge to 45 degrees.
I have my table saw miter gauge faced with a piece of wood that extends its length all the way to the blade. It has a couple of short drywall screws inserted from the back such that the sharp screw tips just barely poke through the face. This negates the risk of the workpiece slipping against the face of the miter gauge. The added stability definitely helps in getting a precision crosscut on the saw. My table saw is a Delta ten inch “contractors” model and doesn’t have the precision or power of higher priced cabinet saws, but I have nonetheless made quite a bit of furniture with it. It helps if one is careful when tuning it up.
The banding was glued to the plywood edge using waterproof woodworking glue (Franklin International Titebond II). The shorter length (end) pieces were glued first. I have three six-foot pipe clamps that are long enough to span the 64-inch length of the table. I also have a half-dozen three and four-foot bar clamps that allowed me to glue on the long edge. These edge pieces were positioned exactly flush with the top of the plywood by virtue of the dado. It is important to use wooden blocks on the face of clamps to avoid denting the face of the wood with the clamps. Handling long clamps by oneself is challenging. I placed some blocks under the pipe of the pipe clamps to hold them up where the clamp face was in the right place. After the glue up, I rounded the corners of the redwood banding with a belt sander (the next day, so the glue is fully cured). This rounding step improves appearance and lessens the likelihood of thigh/hip bruising from running into the otherwise sharp corners of the table. My miters were good enough to require very little wood filler (see last picture).
The surface of the tabletop is cabinet-top laminate sheet. It is bonded to the plywood and edge banding with water-based contact cement. The table is exactly 30 inches wide. Although the laminate is called out at 30 inches wide, the actual width is 30.5 inches. This is important because the laminate must be installed to hang over the edge all the way around. Unsupported laminate is brittle and will break unevenly. I did use a sharp box knife to cut the 96″ length of the laminate to three inches longer than the table to make it easier to handle. This method requires repeated scoring and is therefore not very accurate and is prone to chipping. I must admit to destroying the first piece of laminate that I tried to attach after gluing. The laminate is thin and relatively flexible. (It actually ships rolled up in a 18″ x 18″ x 33″ box. I didn’t know this before and took my pickup to get it the first time.) Since I only had 1/4″ of margin on each side, I failed to get aligned adequately as I tried to align the laminate to the tabletop. I was able to get the first piece of laminate back off and saved the wood but broke the first piece of laminate in the removal process. Live and learn.
After reordering the laminate and waiting two weeks for delivery to the nearest Menards (an hour each way to fetch it), I tried a different approach to alignment. An hour after applying contact cement to both the underside of the laminate and the top of the table, I laid the laminate down on the garage floor, glue side up, of course. I placed two 1/2″ wooden dowels across the laminate near each end. Then I got my wife to help me lower the tabletop down onto the dowels. Since the tabletop is very stiff, there is no sagging to deal with. After carefully aligning, I removed the dowel on my end and lowered one end of the top onto the laminate sheet. It was a simple matter to remove the other dowel and lower the other end. (Since the dowels have not had contact cement applied to them, they do not stick to the other pieces.) Incidentally, I applied the contact cement with a brush the first time and with a 4″ short nap roller the second time. The roller gave a more even result and was much faster.
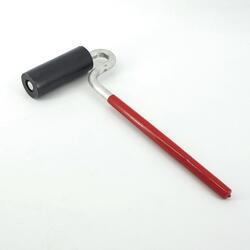
We placed the tabletop with the attached laminate right side up on a pair of sawhorses and used a rubber laminate roller to insure adhesion all across.
After allowing 24 hours for the adhesive to cure, the laminate was trimmed with the edge of the table using a bearing-guided flush trim bit in a plunge router. Depth of the bit was set to run the bearing about midway down the face of the red oak. As long as the router face is kept flat down on the top of the laminate, this method gives an exact edge and is far superior to any other method. I used a palm sander held at a 45-degree angle to feather the top edge of the laminate slightly so it would not be a pure square (sharp) edge.

Finally, the red oak banding was finished with Minwax Polyshades one-step polyurethane brush-on stain+finish.

I am grateful for the protection afforded us by the armor of God, that You Lord, are our defense.
For our struggle is not against flesh and blood, but against the rulers, against the powers, against the world forces of this darkness, against the spiritual forces of wickedness in the heavenly places. Therefore, take up the full armor of God, so that you will be able to resist in the evil day, and having done everything, to stand firm. – Ephesians 6:12-13
Lord is my light and my salvation; Whom shall I fear? The Lord is the defense of my life; Whom shall I dread? – Psalm 27:1
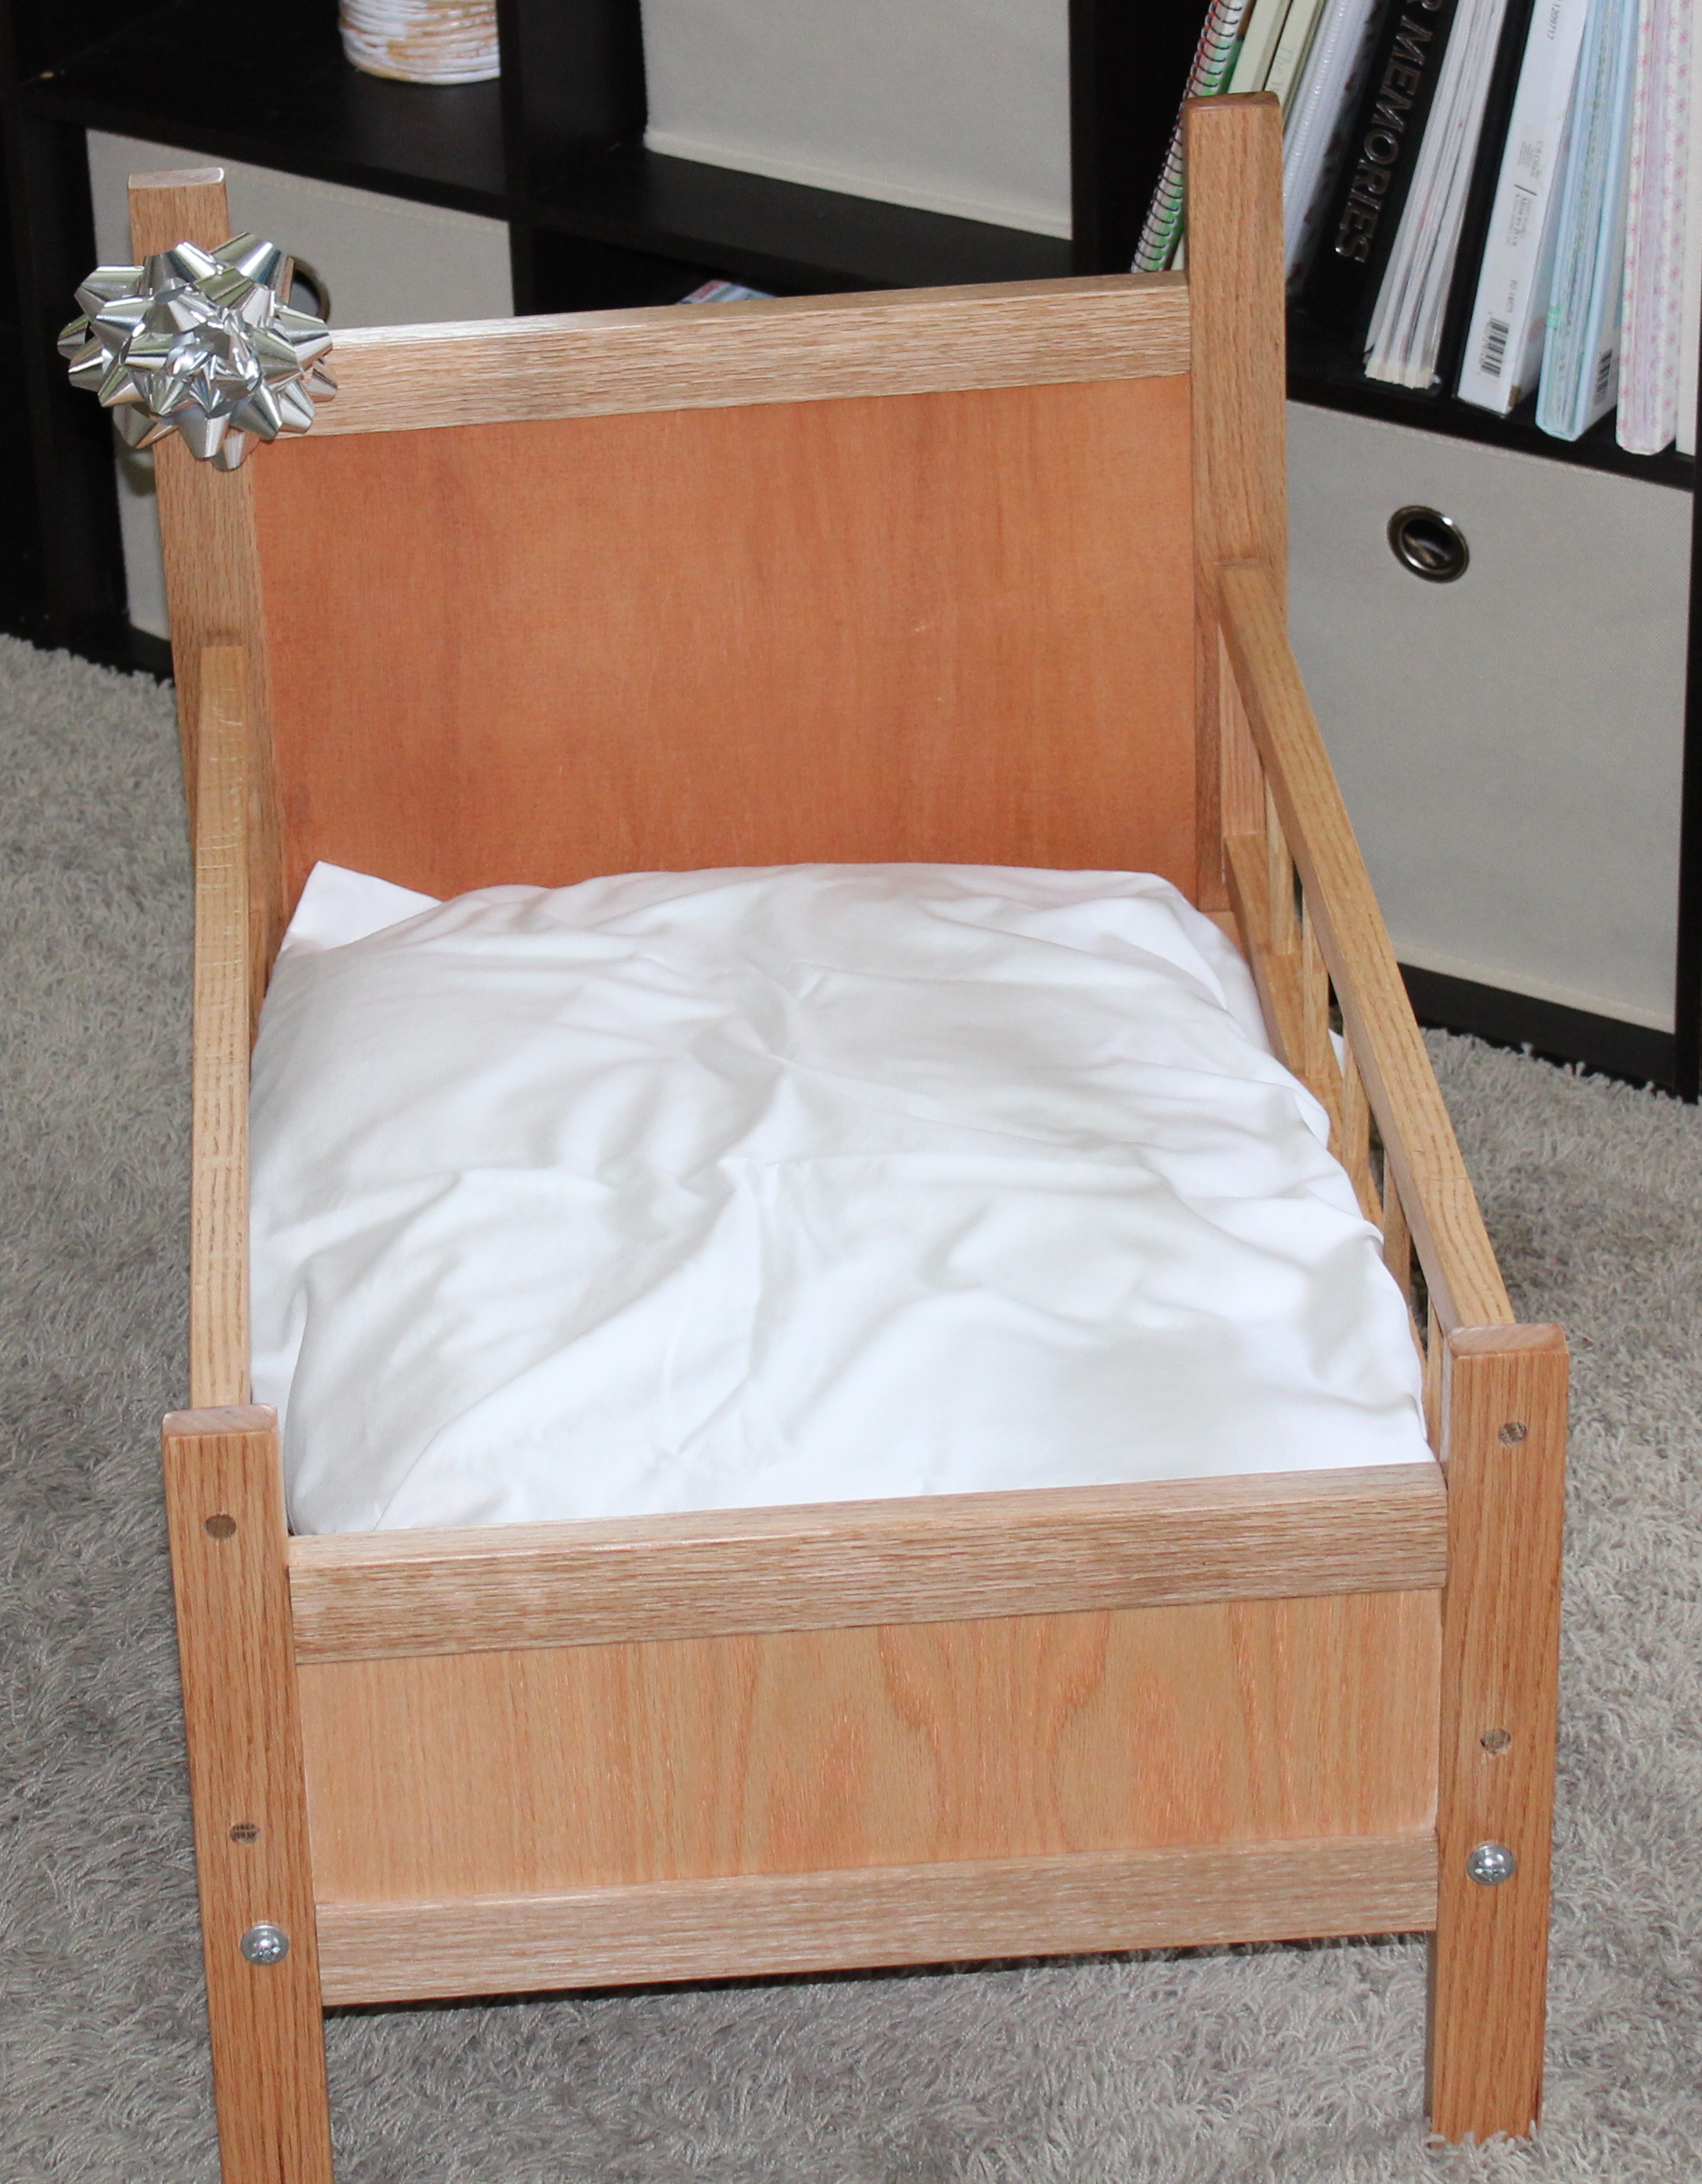
In my last post, I offered to give a description of the process of making a doll bed (crib) for my grand daughter, so here goes…
Her doll is nearly two feet tall, so that sets the basic scale for the project. You might notice that the mattress is a queen-size pillow. The head- and foot-boards are 1″x2″ oak assembled with mortise and tenon joints. The inserts are 1/8″ oak plywood. The basic tools are a table saw (including a dado blade set used to cut the tenons), a plunge router for making the mortises, and for rabbiting the grooves to hold the plywood. I also used a drill press to make holes for dowels used in the crib rails
The more non-obvious part of the process comprises making and using a jig to guide the router, so that is what I will concentrate on here.
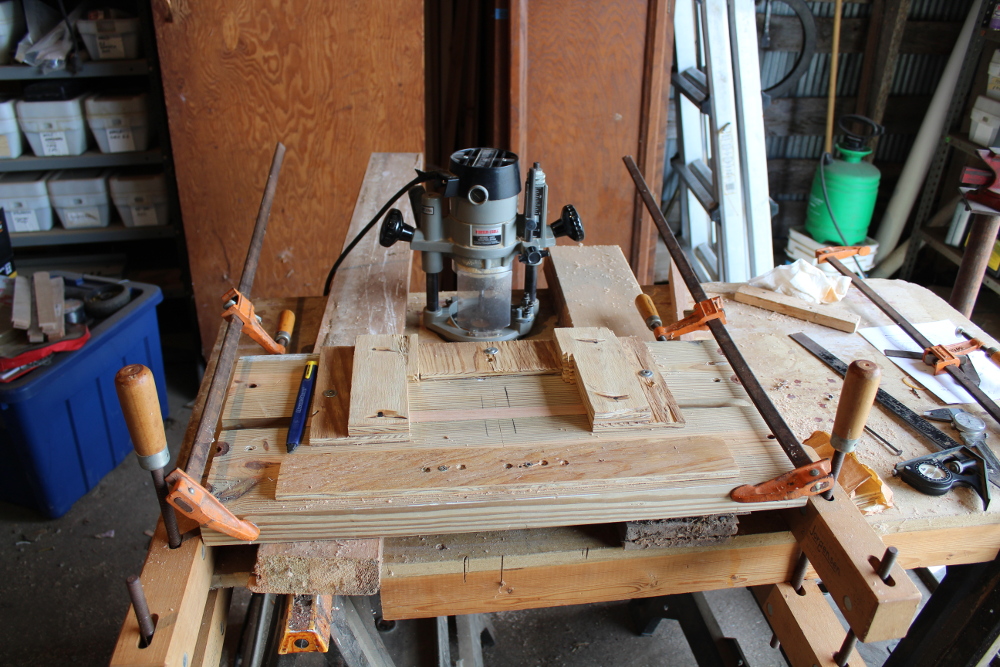
The mortising jig has the simple function of guiding the router so that you can end up with mortises in the center of the edge of the 1×2 bed posts. Centering is critical, so that the cross members align with the upright ones. In the picture above, you can see the workpiece clamped in between two scrap lengths of 2×8 lumber that I had laying around. On top of those are other scrap pieces carefully aligned and screwed down to limit the travel of the router. There is no vertical movement, and only enough freedom for horizontal movement to get the correct width of the mortise. The upper and side limits are only attached to the top 2×8, so that when the clamps are loosened, the work piece can be moved or a new one inserted.

In the second photo, you can see the router in position in the jig, and the limited freedom to move sideways. It always takes me some trial and error on some scrap pieces to get the jig-fine tuned to give a good result.

This third photo shows the finished mortise. Using a 3/8″ router bit gives the right proportion for 3/4″ stock. Note the alignment marks on the jig. These are needed to get the vertical spacing right on each post when clamping the workpiece. Many passes are made with the router, each slightly increasing the depth. As long as the jig is a snug fit, this process will give a nice mortise with a snug fit and avoid overheating the router bit.

The cross pieces have a tenon cut to fit into the mortises on the bed posts. I did this cross-cut work with a dado blade in my table saw. (A dado blade set consists of two saw blades separated by a group of “chippers” that remove the material between the two blades.) I used the full 3/4″ width of my blade to minimize the number of passes. The material removed is controlled by the height of the blade, set to exactly 3/16″, leaving a 3/8″ thick tenon. Passing through the saw has to be done carefully to get all four cuts to align exactly. I clamp a block to my guide fence to serve as a starting guide for the length of the tenon. This is much safer than allowing the end of the tenon to drag along the fence while going through the blade. A little sanding is all that is required to get the square tenon to fit in the round mortise made by the router bit.

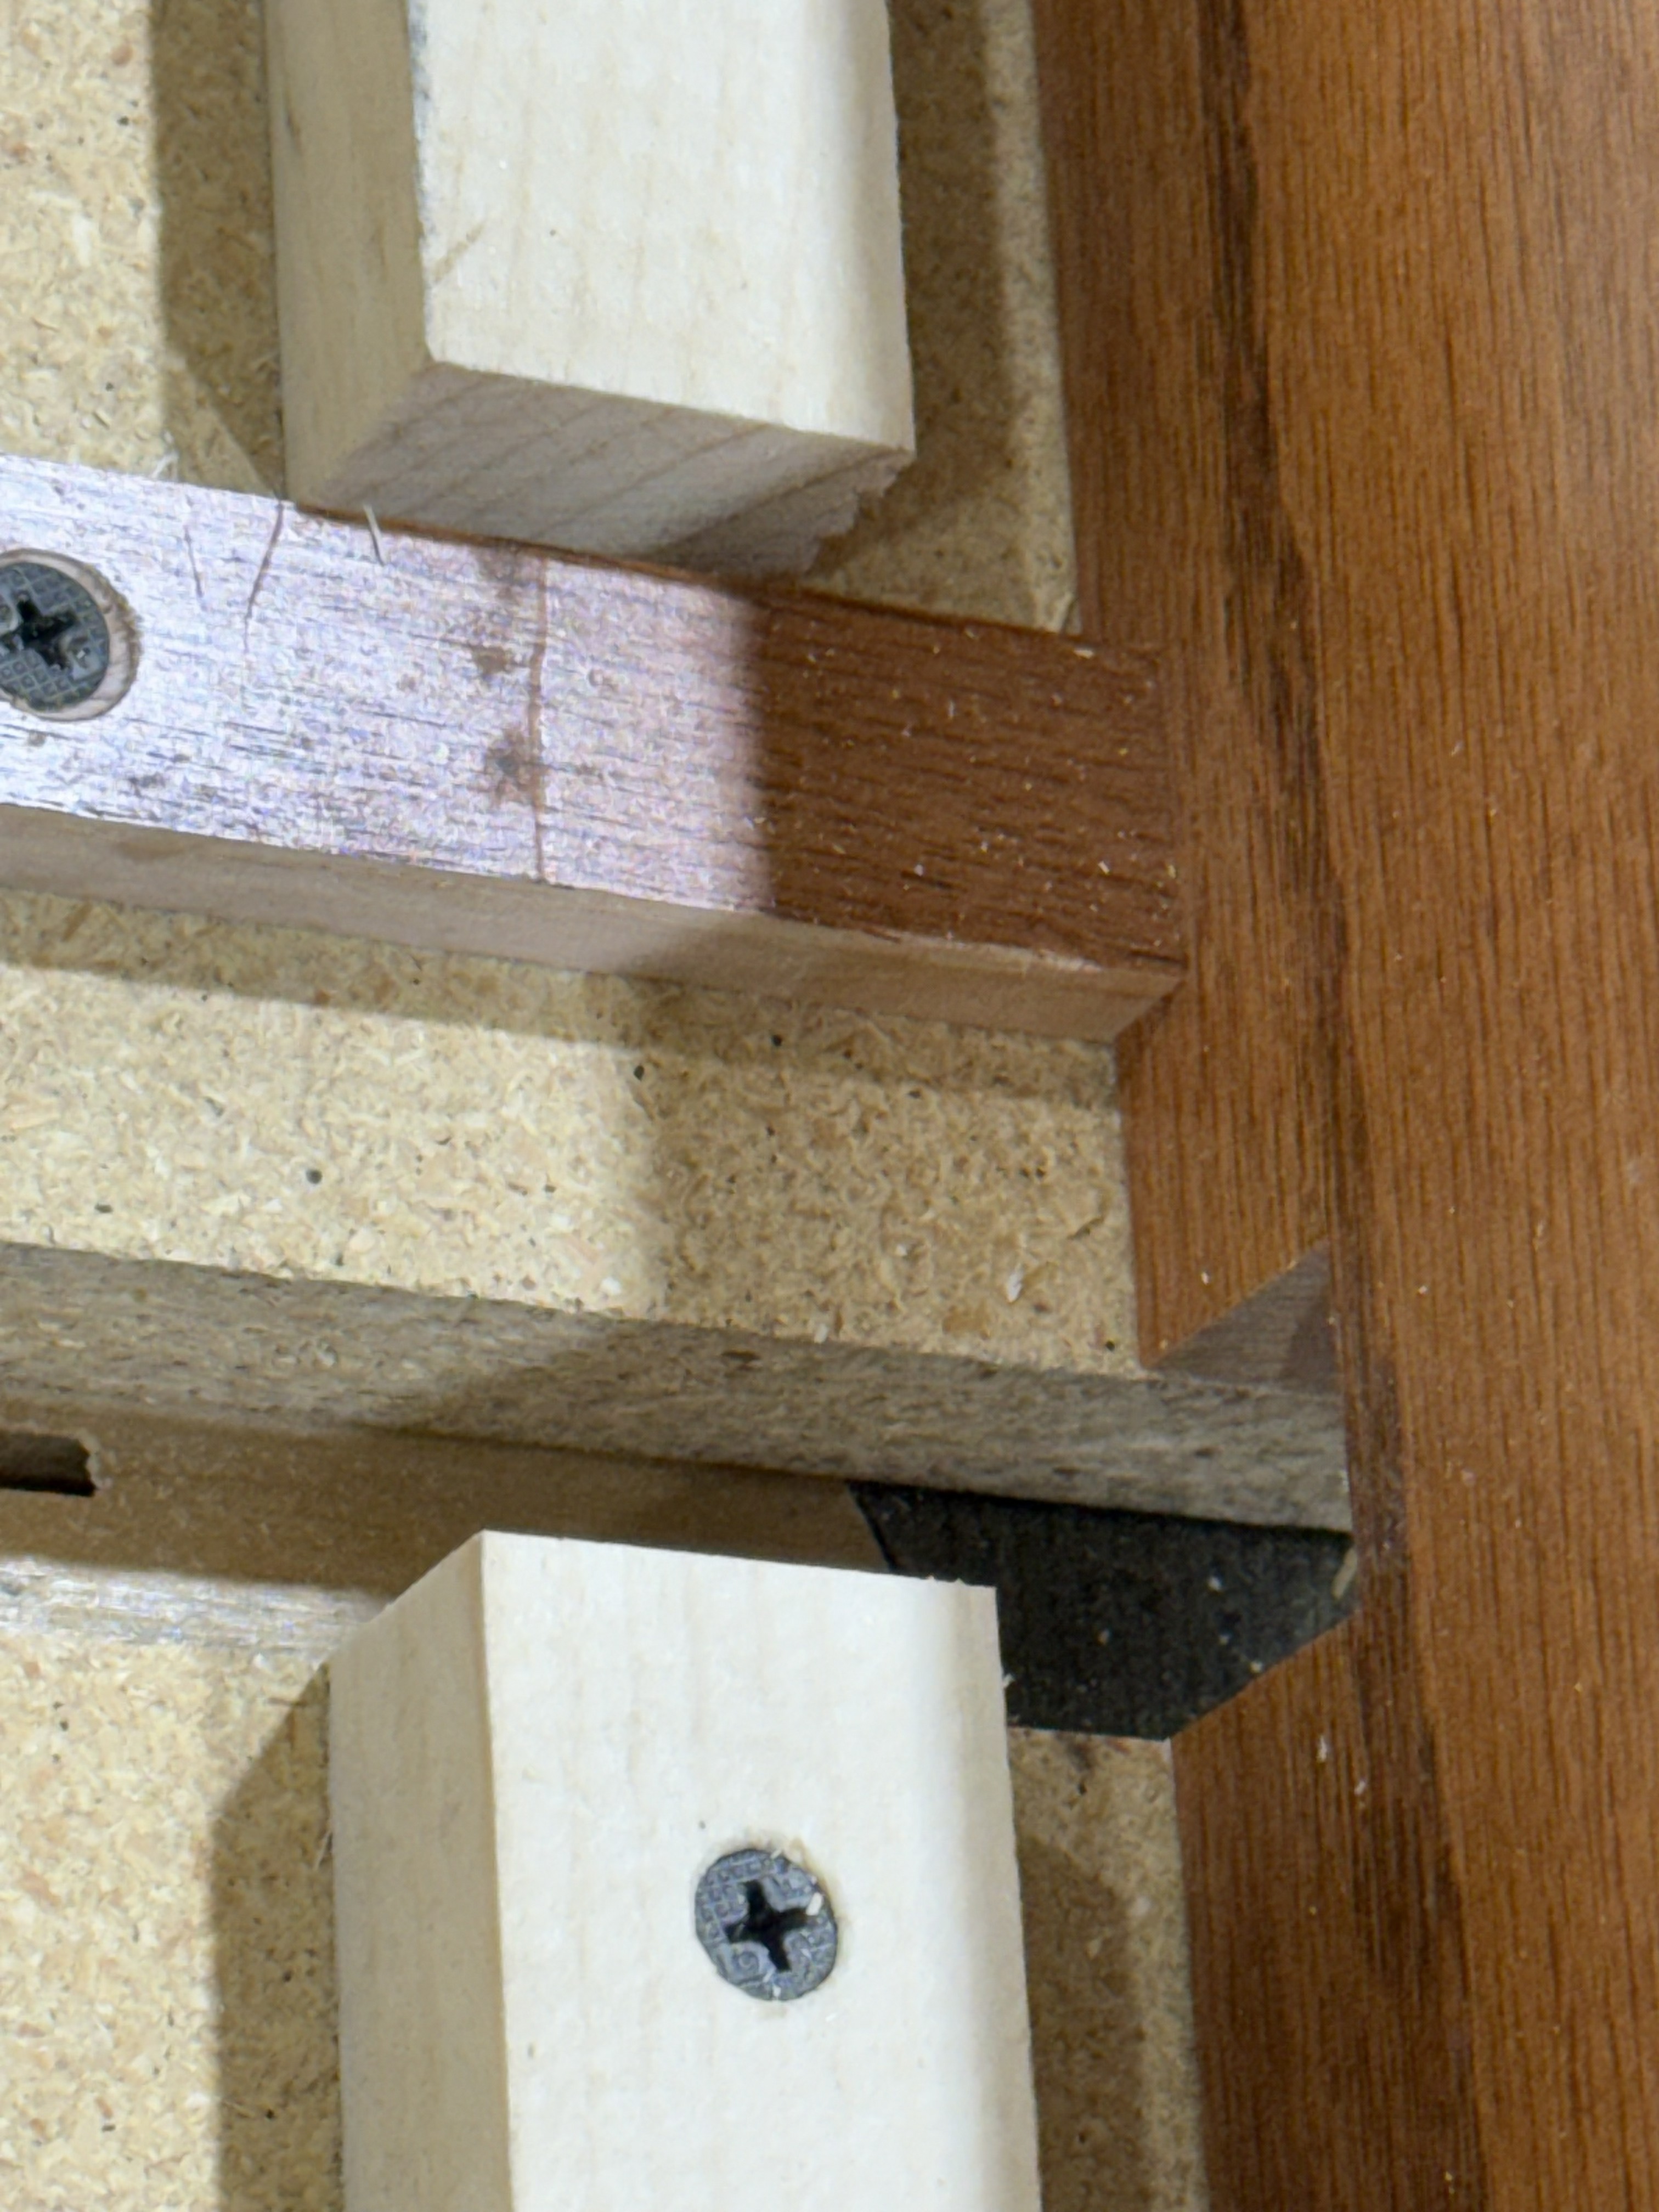
I took the picture above to demonstrate the fit while the bed post was still in the mortising jig.
I will post the remainder next time.
For as many as are the promises of God, in Him they are yes; therefore also through Him is our Amen to the glory of God through us. – 2 Corinthians 1:20
I am grateful for the promises of God, for they are a mighty defense against the weapons of the enemy and my assurance that those he has formed against me will not prosper. (Isaiah 54:17)
Lord, thank you for filling Your Word with so many magnificent promises! May they be constantly in my thoughts and more and more on my lips.
 I had thought about possibly showing the process of building this oak doll bed for my granddaughter, if there is any interest.
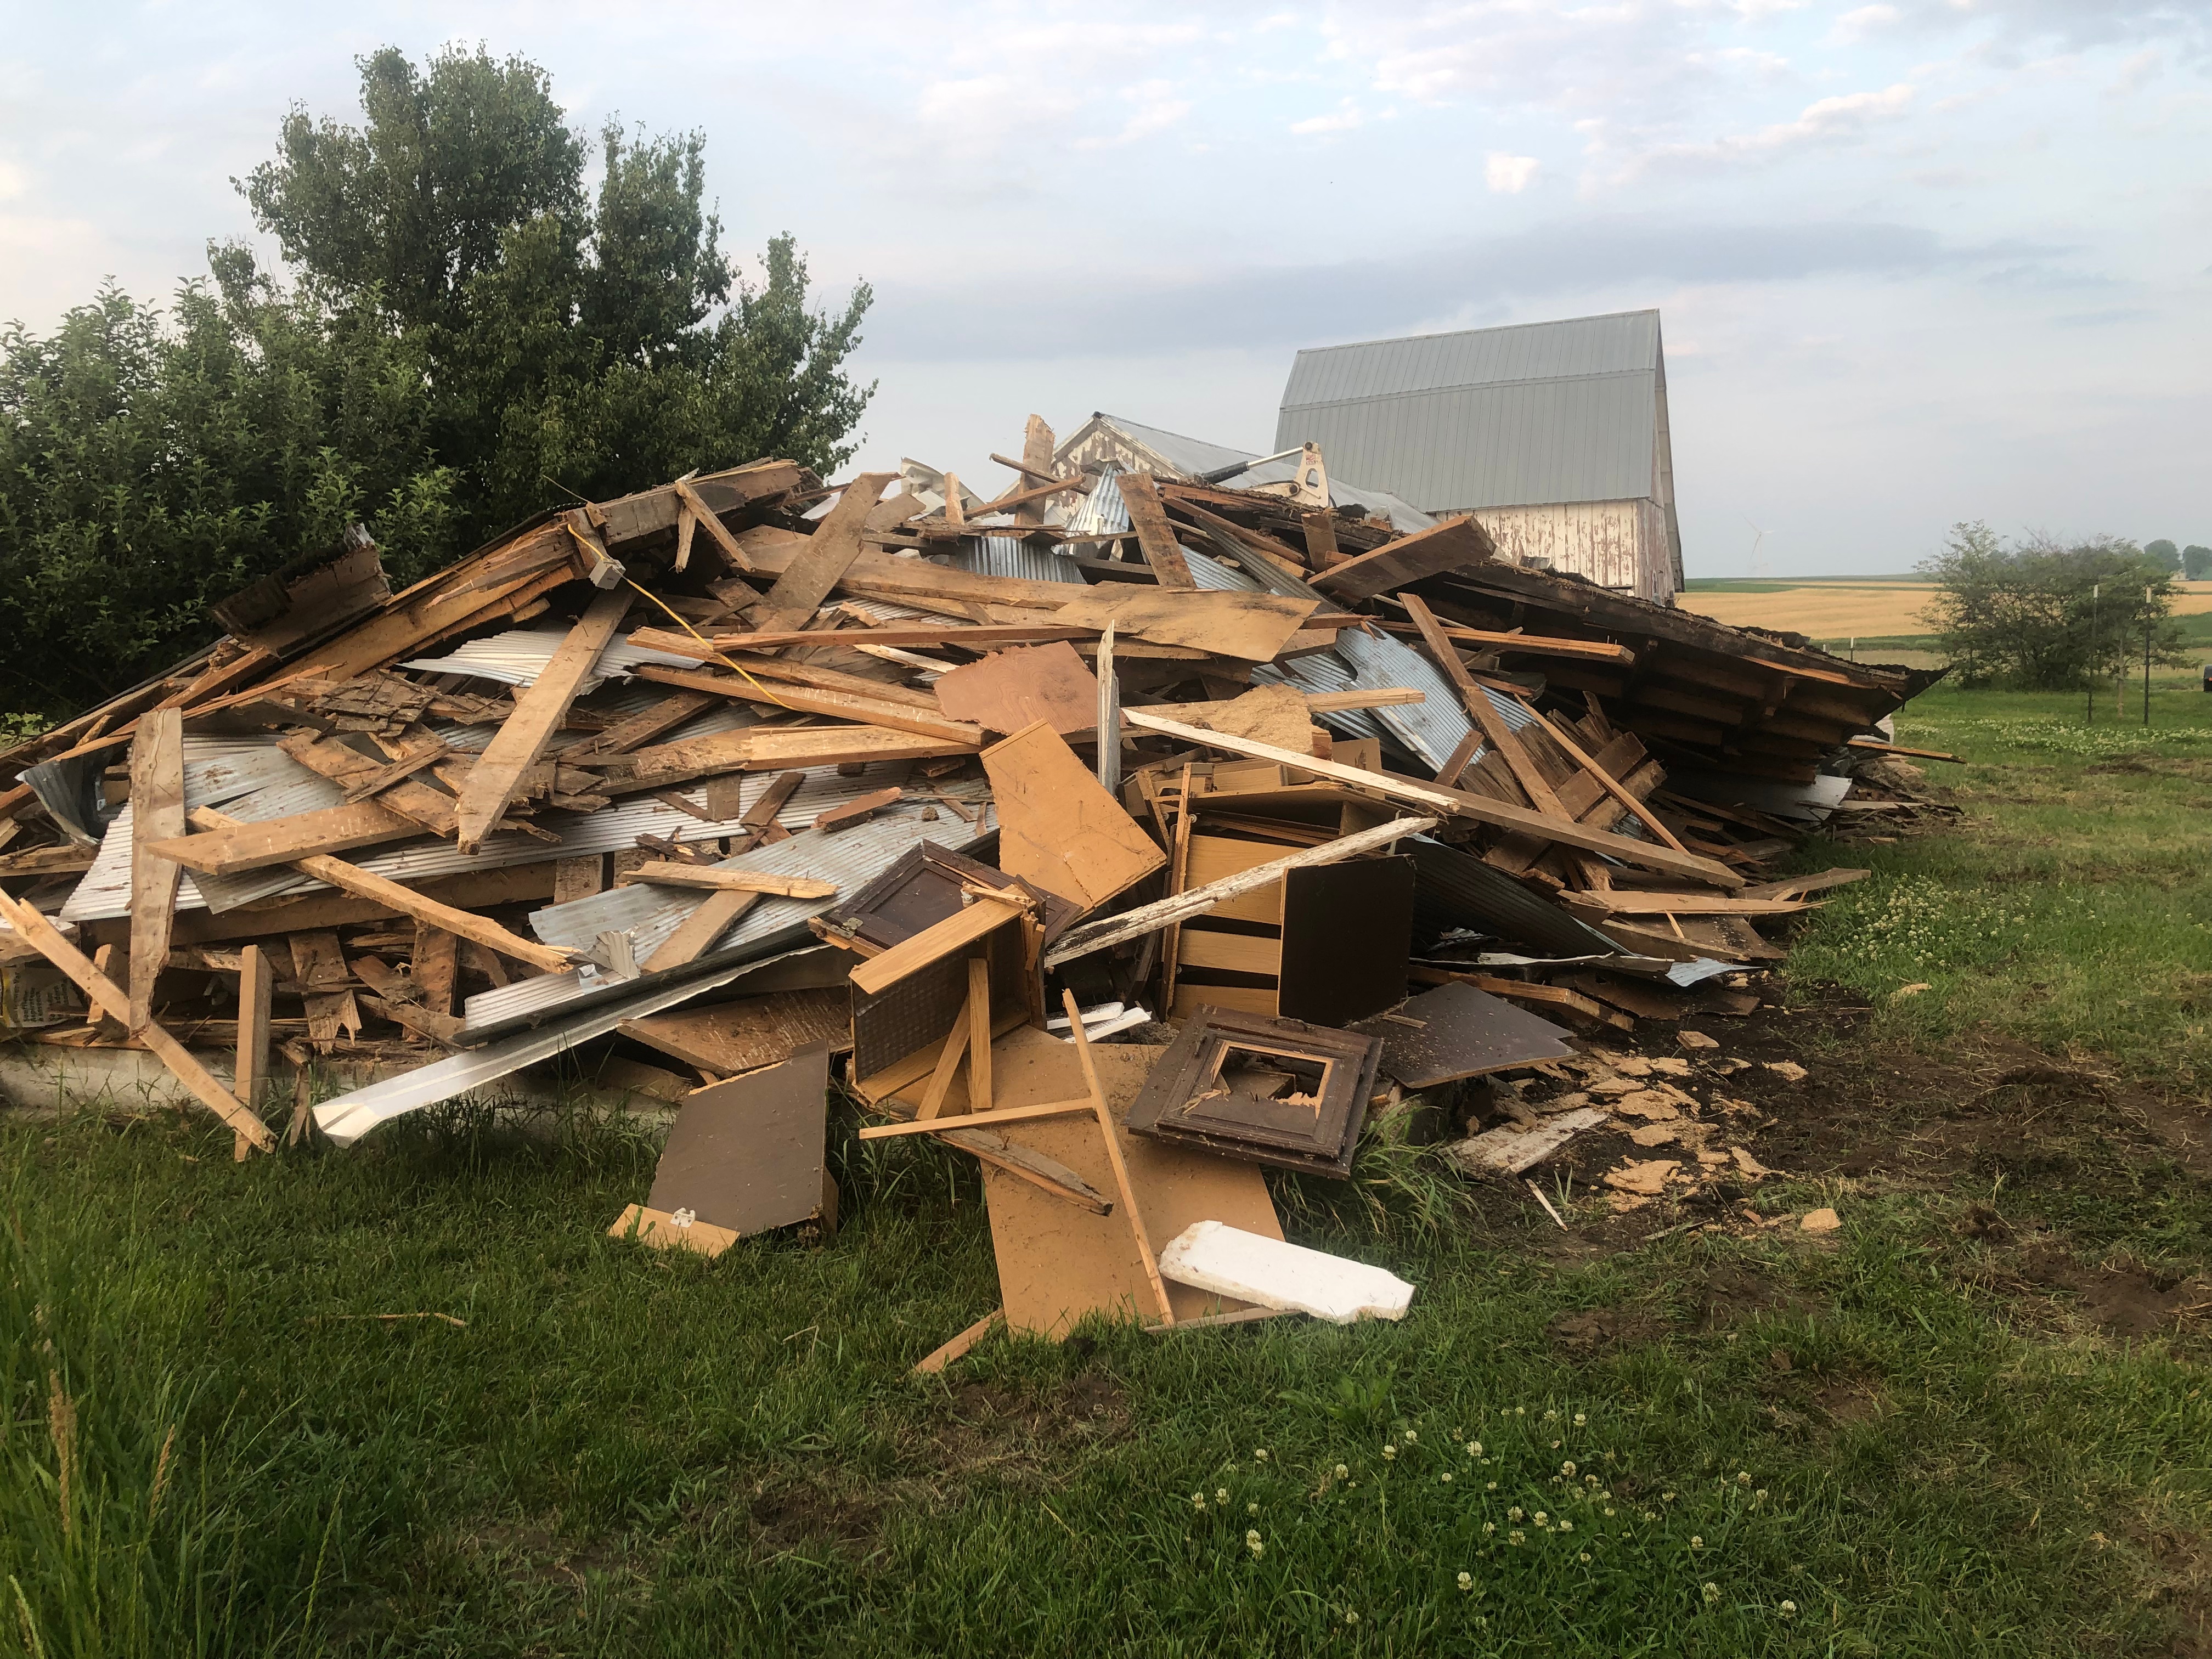
The project was inspired by the demise of her old one when her younger brother decided it would be fun to get in. I’m sure it probably seemed like a good idea at the time.


