
I haven’t posted a woodworking entry in quite a while. So here goes…
My wife purchased a table for use in the kitchen a few years ago from the Legacy Thrift store near where we live. The table is a good fit for the space available. However, the previous owner had made an attempt to spruce up the veneered surface with a faux woodgrain paint job that did not really seal and protect the thin veneer, which was splitting and curling at the splits. It also had extension wings designed to slide back underneath. The cracks tended to collect my dribbles and were hard (to impossible) to clean. The picture below is of the new top that I made for the table. If you are interested, I describe the process below, including a costly misstep.

Table: 30 X 64 inches
I started with a sheet of 3/4″ sanded plywood, and sawed it to size, accounting for the 3/4″ thickness of the red oak that I edged the plywood with. For large pieces like this, I always eschew the table saw and instead use my 7″ circular saw with an 80-tooth carbide-tipped blade. I use a clamped guide board to get a precisely straight cut. Measure, measure, measure, then cut. Red oak banding is 1.75 inches wide and is not merely decorative. It provides significantly more stiffness than the plywood alone.
I cut a dado in the red oak to a depth of half its width and the same depth as the thickness of the plywood. This modification to the banding is critical to a strong glue joint precisely aligned to the top. The joint on top is covered by the laminate, which goes all the way to the edge.

This inset was made on the table saw with a standard fine-toothed carbide blade in two passes, one on the edge and one on the face. The trick is controlling the setting for the height of the blade and the distance to the fence. Make all the related cuts after each setup, as it is nearly impossible to get perfect alignment of a second setup. It is imperative for these types of cut to use a feather board to keep the piece up against the fence and to use a push stick, assuming you are fond of all your digits.

Family members and other acquaintances who have sawed off body parts have told me that they didn’t feel it until the damage was done. I plan to continue taking their word for it. Don’t put your hands anywhere near the blade, ever.
The corners of the banding were carefully mitered on my table saw prior to glue up. This was done by setting the miter gauge to 45 degrees.
I have my table saw miter gauge faced with a piece of wood that extends its length all the way to the blade. It has a couple of short drywall screws inserted from the back such that the sharp screw tips just barely poke through the face. This negates the risk of the workpiece slipping against the face of the miter gauge. The added stability definitely helps in getting a precision crosscut on the saw. My table saw is a Delta ten inch “contractors” model and doesn’t have the precision or power of higher priced cabinet saws, but I have nonetheless made quite a bit of furniture with it. It helps if one is careful when tuning it up.
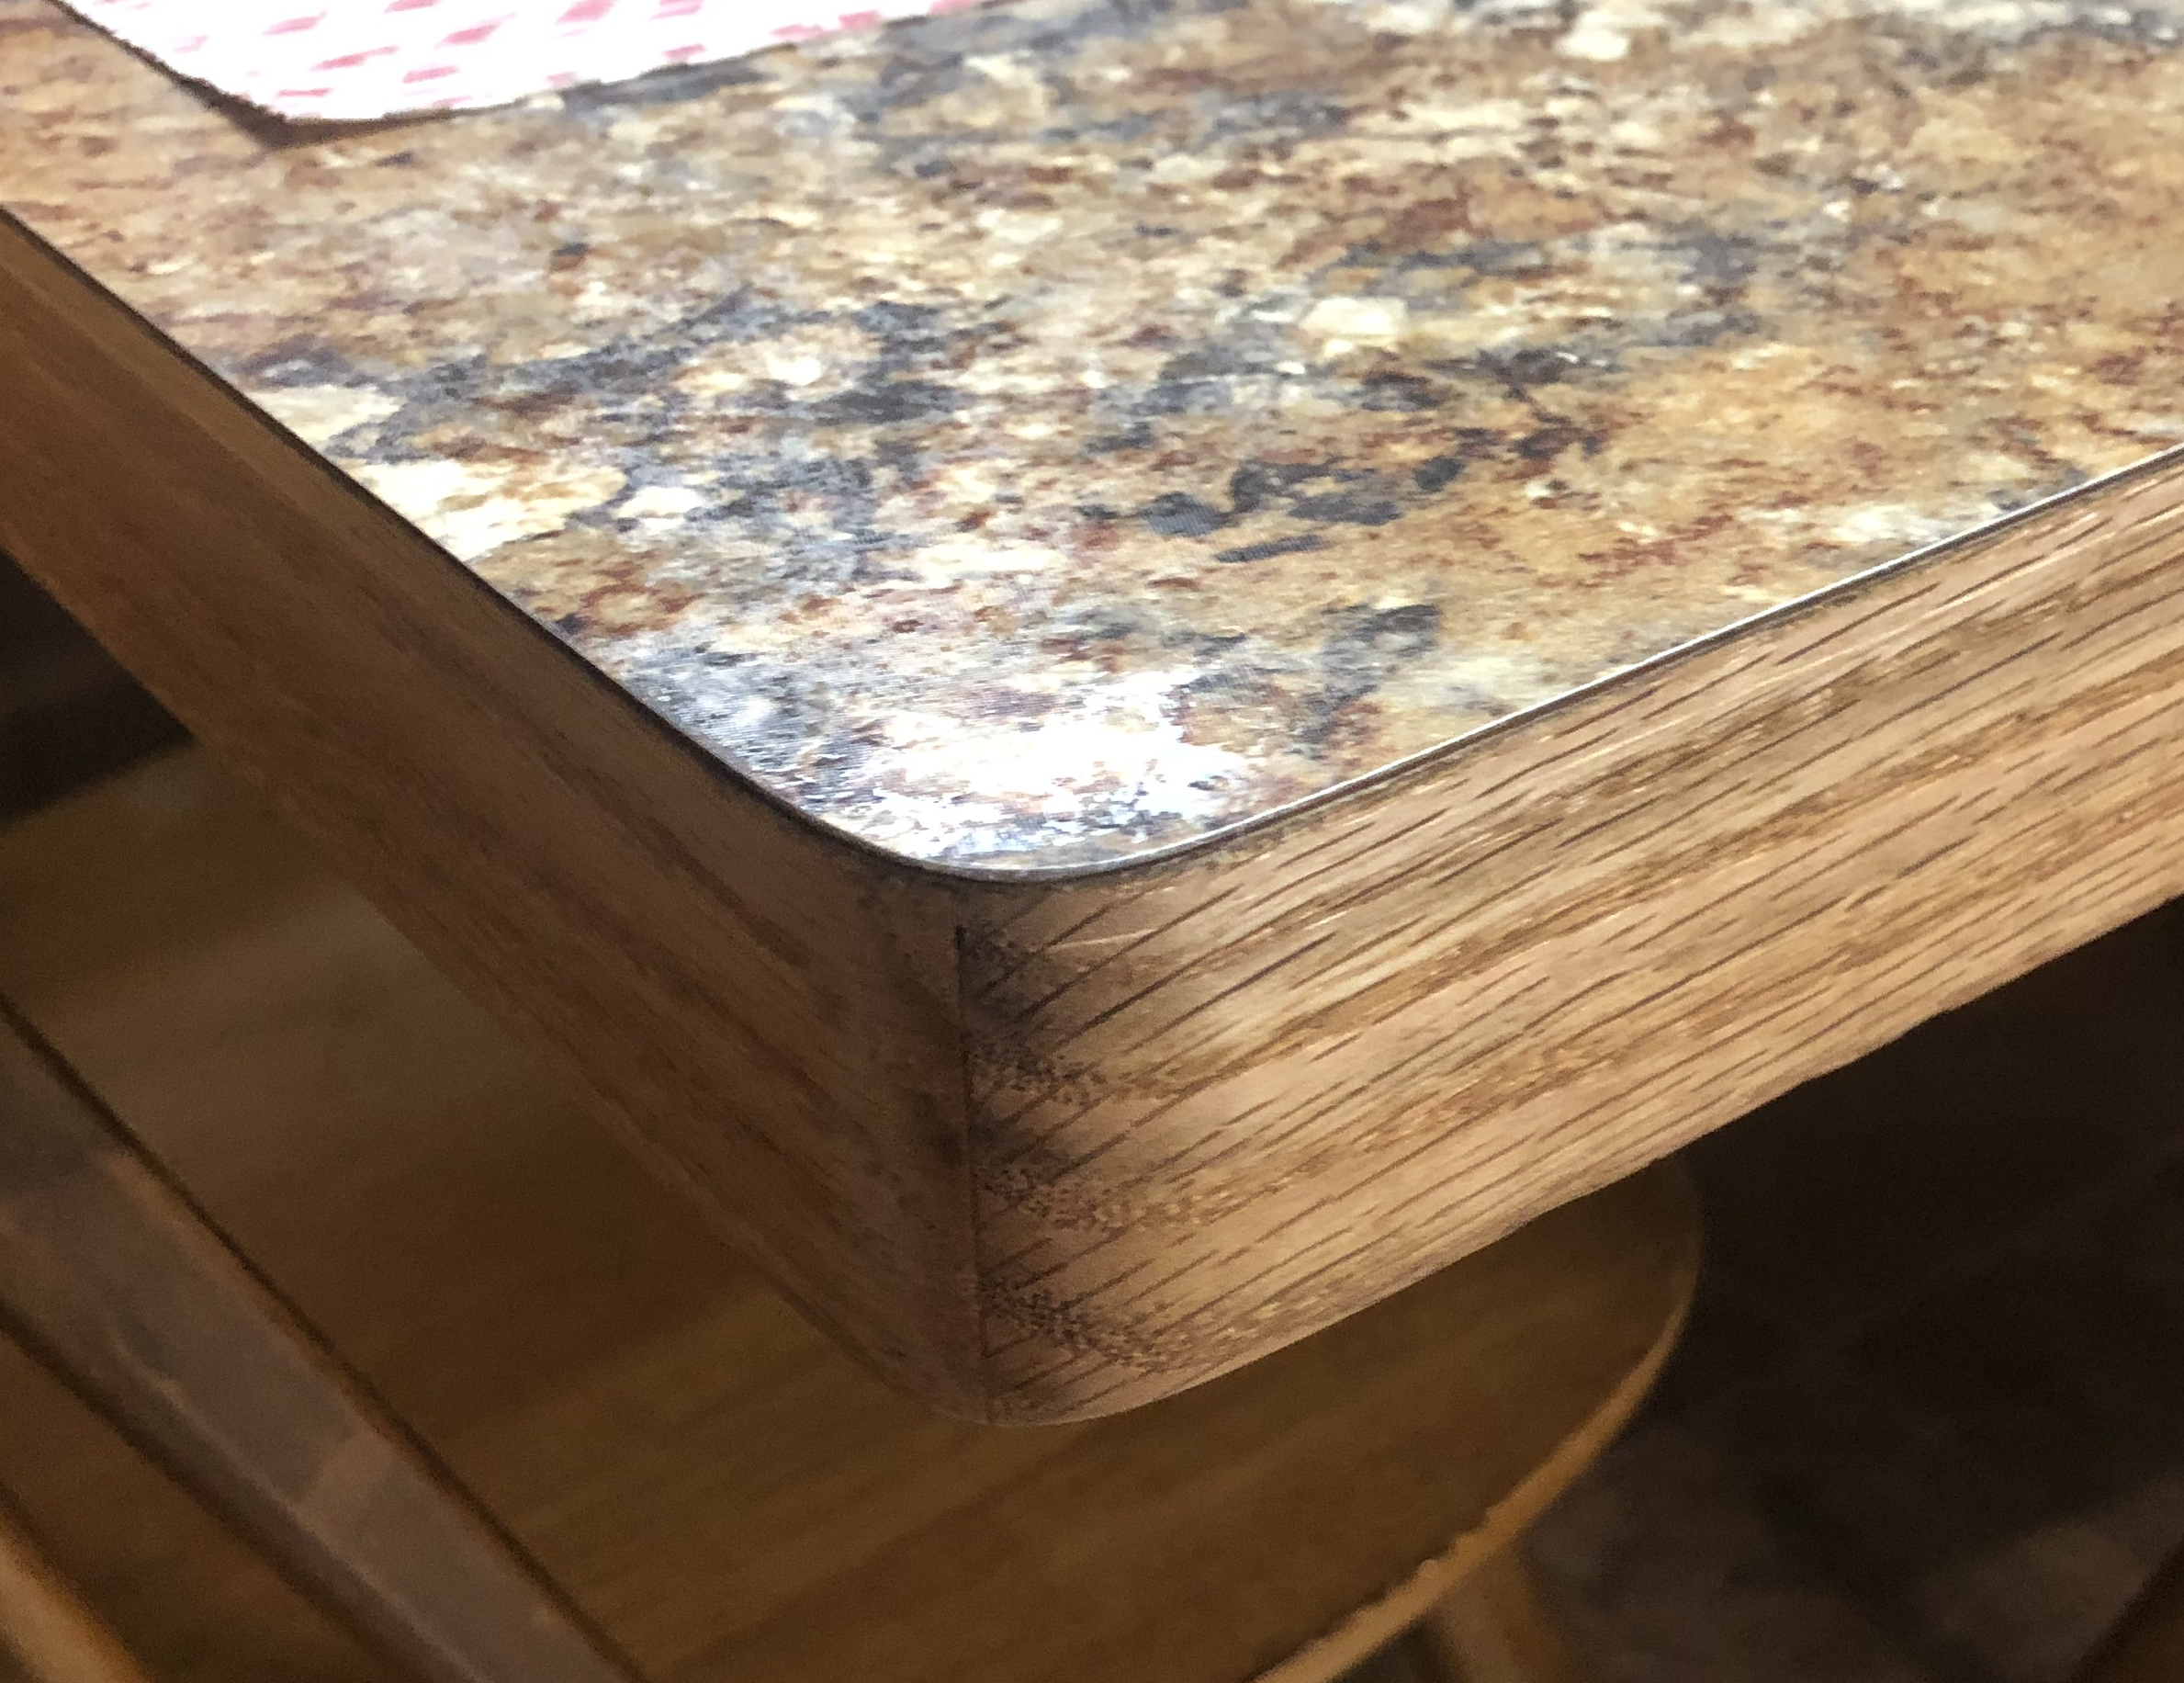
The banding was glued to the plywood edge using waterproof woodworking glue (Franklin International Titebond II). The shorter length (end) pieces were glued first. I have three six-foot pipe clamps that are long enough to span the 64-inch length of the table. I also have a half-dozen three and four-foot bar clamps that allowed me to glue on the long edge. These edge pieces were positioned exactly flush with the top of the plywood by virtue of the dado. It is important to use wooden blocks on the face of clamps to avoid denting the face of the wood with the clamps. Handling long clamps by oneself is challenging. I placed some blocks under the pipe of the pipe clamps to hold them up where the clamp face was in the right place. After the glue up, I rounded the corners of the redwood banding with a belt sander (the next day, so the glue is fully cured). This rounding step improves appearance and lessens the likelihood of thigh/hip bruising from running into the otherwise sharp corners of the table. My miters were good enough to require very little wood filler (see last picture).
The surface of the tabletop is cabinet-top laminate sheet. It is bonded to the plywood and edge banding with water-based contact cement. The table is exactly 30 inches wide. Although the laminate is called out at 30 inches wide, the actual width is 30.5 inches. This is important because the laminate must be installed to hang over the edge all the way around. Unsupported laminate is brittle and will break unevenly. I did use a sharp box knife to cut the 96″ length of the laminate to three inches longer than the table to make it easier to handle. This method requires repeated scoring and is therefore not very accurate and is prone to chipping. I must admit to destroying the first piece of laminate that I tried to attach after gluing. The laminate is thin and relatively flexible. (It actually ships rolled up in a 18″ x 18″ x 33″ box. I didn’t know this before and took my pickup to get it the first time.) Since I only had 1/4″ of margin on each side, I failed to get aligned adequately as I tried to align the laminate to the tabletop. I was able to get the first piece of laminate back off and saved the wood but broke the first piece of laminate in the removal process. Live and learn.
After reordering the laminate and waiting two weeks for delivery to the nearest Menards (an hour each way to fetch it), I tried a different approach to alignment. An hour after applying contact cement to both the underside of the laminate and the top of the table, I laid the laminate down on the garage floor, glue side up, of course. I placed two 1/2″ wooden dowels across the laminate near each end. Then I got my wife to help me lower the tabletop down onto the dowels. Since the tabletop is very stiff, there is no sagging to deal with. After carefully aligning, I removed the dowel on my end and lowered one end of the top onto the laminate sheet. It was a simple matter to remove the other dowel and lower the other end. (Since the dowels have not had contact cement applied to them, they do not stick to the other pieces.) Incidentally, I applied the contact cement with a brush the first time and with a 4″ short nap roller the second time. The roller gave a more even result and was much faster.
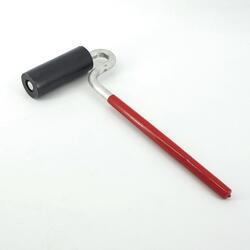
We placed the tabletop with the attached laminate right side up on a pair of sawhorses and used a rubber laminate roller to insure adhesion all across.
After allowing 24 hours for the adhesive to cure, the laminate was trimmed with the edge of the table using a bearing-guided flush trim bit in a plunge router. Depth of the bit was set to run the bearing about midway down the face of the red oak. As long as the router face is kept flat down on the top of the laminate, this method gives an exact edge and is far superior to any other method. I used a palm sander held at a 45-degree angle to feather the top edge of the laminate slightly so it would not be a pure square (sharp) edge.

Finally, the red oak banding was finished with Minwax Polyshades one-step polyurethane brush-on stain+finish.


Good job Jon. I have only used solid hardwood for furniture pieces and have no experience with laminate.
LikeLiked by 2 people
Thanks Gary! This was a first (and second) for me.
LikeLiked by 1 person
I’ve personally never seen laminate look so good!
LikeLiked by 2 people
My physical-world skills are like my hand-writing: useful if there’s nothing else around, but not the first choice (nor the second or third).
But I do have to admire using a spreadsheet to make a drawing. Worked perfectly!
LikeLiked by 1 person
Thanks Steve. In trying to describe what I meant, I kept thinking, “A picture is worth a thousand words.” Have a great day!
LikeLiked by 1 person
I might also say that lately I have been writing long and detailed requirements documents for a radio control system for work. A little hands-on is pretty good therapy.
LikeLiked by 1 person
Love the finished product – beautifully done.
LikeLiked by 2 people
Thanks Dora!
LikeLiked by 1 person
That turned out nice!!
LikeLiked by 1 person
Man; I need to watch each step. I appreciated your warnings, mistakes, details, and pictures. I’m going to ask my husband about the feather board; it looks dead useful.
LikeLiked by 1 person
Beautiful, Jon.
LikeLiked by 1 person
Beautiful done. Great job!
LikeLiked by 1 person
This is so cool and looks amazing, Jon! If my husband and I ever have time for a project like this, I’m going to refer him to your blog for pointers!
Thank you for sharing!
LikeLiked by 1 person